7 Zero Waste Easy Homemade Gifts for a Sustainable Holiday
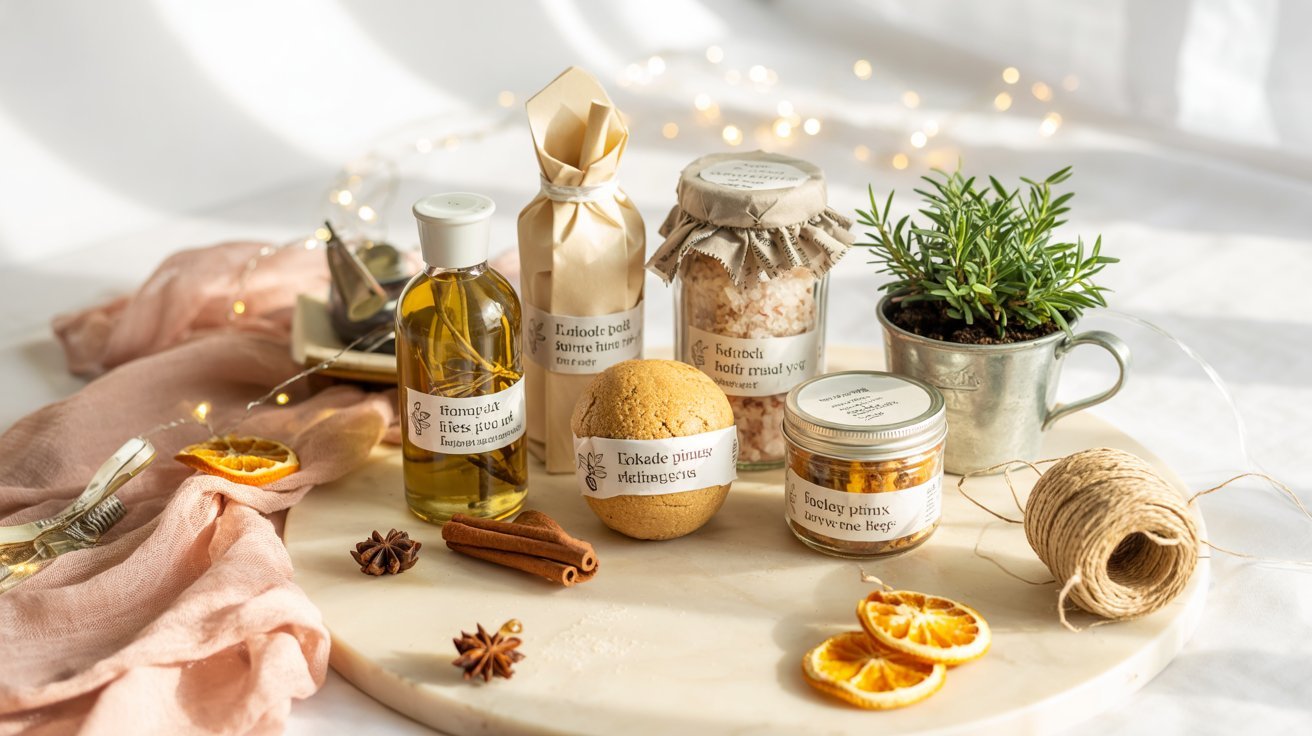
The holiday season often brings a flurry of shopping bags, wrapping paper, and gifts that might be used once before finding their way to the back of a closet. But what if we could reclaim the true spirit of giving while treading more lightly on our planet? This year, consider crafting zero waste homemade gifts that warm hearts without weighing on the Earth. These thoughtful creations not only reduce environmental impact but also carry something no store-bought item can,the irreplaceable touch of time, care, and personal attention that makes a gift truly special.
Why Choose Zero-Waste Homemade Gifts?

Sustainable gift wrapping adds a personal touch to your zero-waste presents
The average American generates about 25% more waste during the holiday season, that’s an extra 1 million tons per week between Thanksgiving and New Year’s. When we craft gifts from materials we already have or items that would otherwise be discarded, we’re not just giving a present, we’re giving our planet a little breathing room.
Homemade gifts carry deeper meaning, too. In our fast-paced world, the gift of time and attention has become increasingly precious. When you present someone with something crafted by your own hands, you’re saying, “You’re worth my time.” That sentiment creates a connection no hastily purchased mall gift can match.
Ready to embrace a more meaningful holiday season? These seven zero-waste gift ideas use materials you likely already have at home, require no special skills, and create beautiful, useful presents your loved ones will treasure.
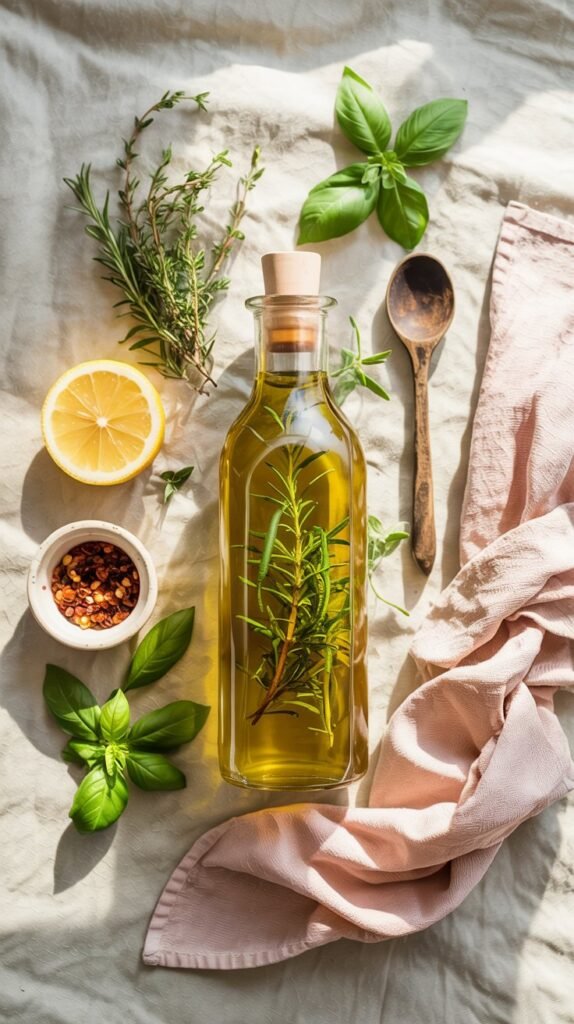
1. Herb-Infused Culinary Oils
Difficulty Level: Easy
Perfect for beginners, simply combine ingredients and let time do the work.
Time Required: 20 minutes active time + 1-2 weeks infusing
Most of the “work” happens while the oils infuse with flavor.
Materials Needed
- Clean glass bottles or jars (upcycled from pasta sauce, olive oil, etc.)
- High-quality olive oil
- Fresh or dried herbs (rosemary, thyme, basil, oregano)
- Optional: garlic cloves, chili flakes, citrus zest
- Twine or ribbon (ideally paper-based or fabric)
- Small squares of fabric or paper for labels
Step-by-Step Instructions
- Thoroughly wash and completely dry your bottles and herbs (any moisture can cause spoilage).
- Gently bruise herbs to release their oils, then place them in the bottles.
- Add any additional flavorings like garlic cloves or chili flakes.
- Warm the olive oil slightly (not hot), then pour it over the herbs, filling the bottle.
- Seal tightly and store in a cool, dark place for 1-2 weeks before gifting.
- Add a handwritten tag with the oil type and suggested uses.
Personalization Ideas
Create custom flavor combinations based on the recipient’s cooking style. For Italian food lovers, try rosemary, garlic and lemon zest. For spice enthusiasts, infuse with chili flakes and smoked paprika. Include a small recipe card with suggestions for using the oil.
These beautiful oils not only reduce waste by repurposing glass containers but also encourage home cooking, another sustainable practice. Your recipients will think of you each time they drizzle your handcrafted oil over a fresh salad or crusty bread.
Ready to start infusing? Gather those empty glass bottles from your recycling bin and transform them into gourmet gifts!
2. Homemade Beeswax Food Wraps
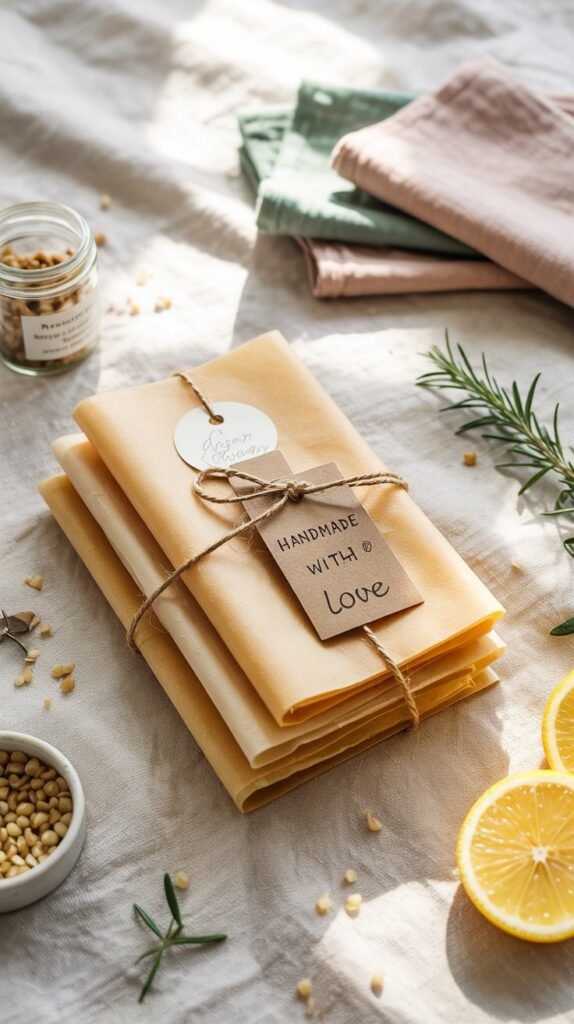
Beeswax wraps are the perfect sustainable alternative to plastic wrap and make wonderful zero-waste homemade Christmas gifts. They’re reusable for up to a year, washable, and naturally antibacterial thanks to the properties of beeswax.
Difficulty Level: Medium
Requires some precision with wax distribution but very forgiving.
Time Required: 1-2 hours
Depends on how many wraps you’re making and your setup.
Materials Needed
- 100% cotton fabric scraps in fun patterns (old sheets or clothing work great)
- Beeswax pellets or grated beeswax (local is best)
- Optional: pine resin and jojoba oil for extra cling and flexibility
- Parchment paper
- Iron or oven
- Scissors and ruler
Step-by-Step Instructions
- Cut fabric into desired sizes (8″×8″, 11″×11″, and 14″×14″ make a nice set).
- Place parchment paper on a baking sheet, then lay fabric on top.
- Sprinkle beeswax evenly across the fabric (if using resin and oil, mix with the wax first).
- Place in oven at 185°F for 5-10 minutes until wax melts completely.
- Use a brush to spread melted wax evenly if needed.
- Remove and hang to dry (takes just a minute or two).
- Once dry, bundle wraps together with twine or fabric scraps.
Sustainable Packaging
Bundle sets of 3-4 different-sized wraps with a simple twine tie. Include a small card with care instructions: “Wash in cool water with mild soap, air dry, and refresh with an iron between parchment paper after several months of use.”
These colorful wraps make food storage a delight and help your loved ones reduce their plastic consumption all year long. They’re perfect for covering bowls, wrapping cheese, sandwiches, and snacks.
3. Luxurious Bath Salts in Upcycled Jars
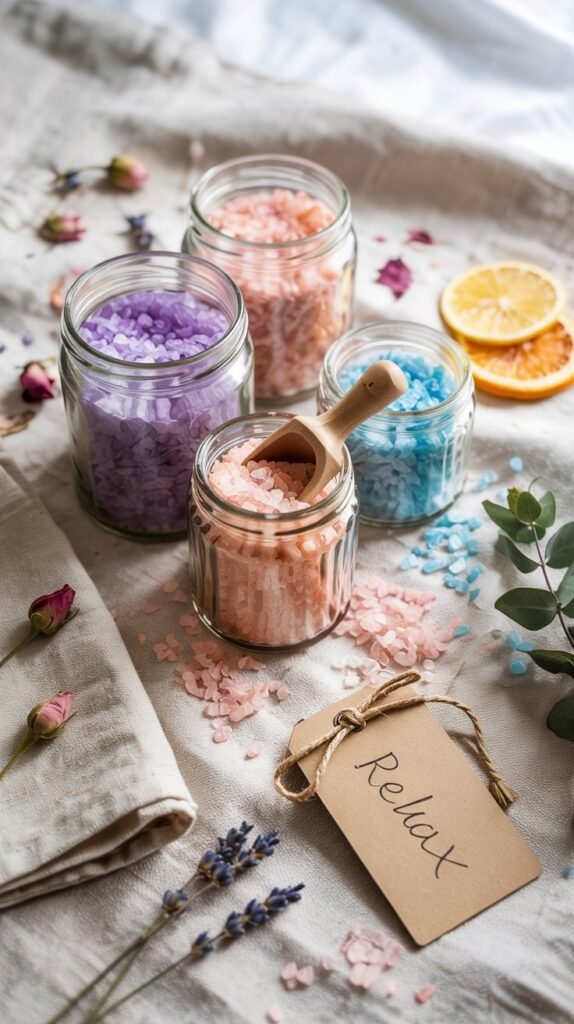
Transform simple ingredients into a spa-worthy experience with these aromatic bath salts. They’re incredibly easy to make, endlessly customizable, and look stunning in upcycled glass jars.
Difficulty Level: Very Easy
Simple mixing – no special skills required!
Time Required: 30 minutes
Quick to make, can create multiple gifts in one session.
Materials Needed
- Epsom salts and/or sea salt
- Baking soda (optional, for softening properties)
- Essential oils (lavender, eucalyptus, rose, etc.)
- Dried herbs or flower petals (lavender buds, rose petals, calendula)
- Natural food coloring or dried beetroot powder for color (optional)
- Clean, dry glass jars with lids
- Fabric scraps, twine, and labels
Step-by-Step Instructions
- In a large bowl, combine 2 cups of Epsom salts with 1/2 cup sea salt and 1/4 cup baking soda.
- Divide mixture if you want to create different scents or colors.
- Add 10-15 drops of essential oil per cup of salt mixture.
- Add dried herbs or flower petals (about 1-2 tablespoons per cup).
- If using color, add a tiny amount and mix thoroughly.
- Pour into clean, dry jars and seal tightly.
- Decorate jars with fabric tops, twine, and handwritten labels.
Creative Combinations
Relaxing Lavender
Lavender essential oil, dried lavender buds, and a touch of purple color
Energizing Citrus
Sweet orange and lemon essential oils with calendula petals
Soothing Eucalyptus
Eucalyptus and peppermint oils with a hint of blue color
Include a small note suggesting using 1/4 to 1/2 cup per bath, and to store the salts in a cool, dry place. These bath salts offer a moment of self-care – something we could all use more of during the busy holiday season.
Those empty pasta sauce jars in your recycling bin are perfect for this project! Clean them thoroughly, remove labels with warm soapy water, and they’re ready for their luxurious new contents.
4. Wildflower Seed Bombs
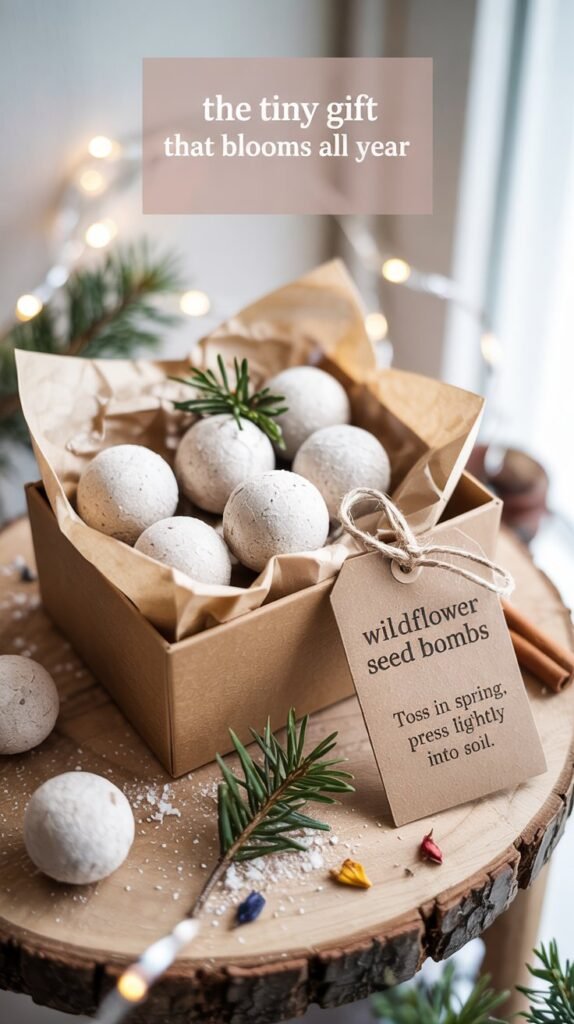
Seed bombs are the gift that keeps on growing! These little balls of clay, compost, and wildflower seeds can be tossed into any patch of soil to bring forth beautiful native blooms that support local pollinators.
Difficulty Level: Easy
Similar to making play dough – great project to involve kids!
Time Required: 1 hour active time + 1-2 days drying time
Most of the time is just waiting for the bombs to dry.
Materials Needed
- Air-dry clay or potter’s clay (natural, no additives)
- Compost or potting soil
- Native wildflower seeds appropriate for recipient’s region
- Water
- Mixing bowl
- Recycled paper bags or boxes for packaging
- Twine and seed identification tags
Step-by-Step Instructions
- Mix 5 parts clay with 3 parts compost and 1 part seeds.
- Add water gradually until the mixture holds together but isn’t too wet.
- Roll into balls about the size of a quarter.
- Allow to dry completely (1-2 days) in a warm spot.
- Once dry, package in small paper bags or boxes made from recycled materials.
- Include instructions for “planting” – simply toss onto soil in spring!
Sourcing Materials Responsibly
Choose native wildflower seeds appropriate for the recipient’s region to support local ecosystems. Many garden centers offer regional wildflower mixes, or check with local conservation organizations. For clay, look for natural air-dry clay without additives, or use clay soil from your garden if available.
Pro Tip: Research which wildflowers are native to your recipient’s area. Native plants require less water, support local wildlife, and won’t become invasive species.
These seed bombs make perfect gifts for gardeners, nature lovers, or anyone with even a small patch of soil. They’re a beautiful reminder that small actions can create blooming beauty and support vital pollinators.
5. Upcycled Container Candles

Transform beautiful thrifted containers and leftover wax into charming, one-of-a-kind candles. This project is perfect for using up candle stubs and giving new life to pretty containers that might otherwise be discarded.
Difficulty Level: Medium
Requires careful handling of hot wax but otherwise straightforward.
Time Required: 1-2 hours active time + cooling time
Most of the time is spent waiting for candles to set.
Materials Needed
- Interesting containers: teacups, vintage tins, small mason jars
- Candle wax (can use leftover candle stubs, soy wax, or beeswax)
- Candle wicks with metal bases
- Essential oils for scent (optional)
- Double boiler setup (or a heat-safe bowl over a pot of water)
- Wooden skewer or pencil to hold wick upright
- Optional: dried herbs, flowers, or citrus zest for decoration
Step-by-Step Instructions
- Clean containers thoroughly and ensure they’re completely dry.
- Attach wick to the bottom center of each container (a drop of melted wax can help secure it).
- Melt wax in double boiler, removing any old wicks or debris.
- Once melted, remove from heat and add essential oils if desired (about 10 drops per cup of wax).
- Pour wax into containers, keeping the wick centered with a skewer laid across the top.
- Allow to cool and harden completely (several hours or overnight).
- Trim wick to about 1/4 inch before gifting.
Finding Beautiful Containers
Thrift stores are treasure troves for unique candle containers. Look for vintage teacups, small ceramic bowls, or interesting glass jars. You can also repurpose containers from your own home – pretty jam jars, ceramic yogurt pots, or small tins all make charming vessels.
Safety Note: Always use containers that can withstand heat, and never leave burning candles unattended. Include this reminder with your gift.
These candles create a warm, cozy atmosphere while giving new purpose to beautiful objects. They’re perfect for anyone who appreciates handmade touches and the gentle glow of candlelight during the dark winter months.
Start collecting those candle stubs now! Even small amounts of leftover wax can be combined to create new candles.
6. Layered Cookie Mix in a Jar
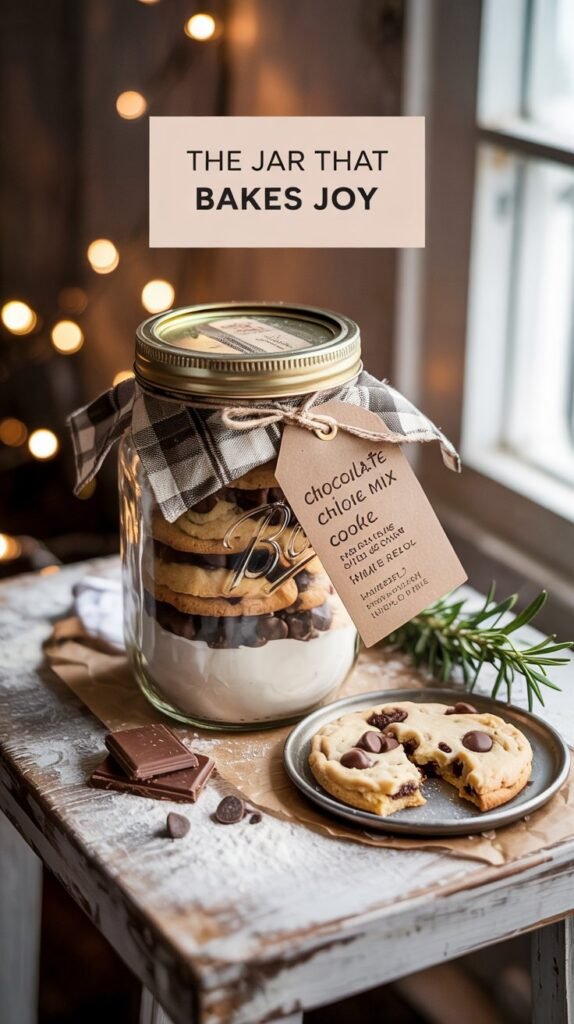
A classic homemade gift that never goes out of style, cookie mix jars combine visual appeal with practical deliciousness. The beautiful layers of ingredients make for an attractive present, while providing the recipient with everything they need to bake a batch of homemade cookies.
Difficulty Level: Very Easy
Simple measuring and layering – perfect for beginners!
Time Required: 10-15 minutes per jar
Quick to assemble once you have all ingredients.
Materials Needed
- 1-quart mason jar with lid (upcycled is best)
- Dry cookie ingredients (flour, sugar, baking soda, salt, chocolate chips, oats, etc.)
- Fabric square to cover lid
- Twine or ribbon
- Recipe card with instructions
- Funnel (helpful for neat layers)
Classic Chocolate Chip Cookie Mix Recipe
Layer in this order (pressing down gently after each addition):
- 1 3/4 cups all-purpose flour mixed with 3/4 teaspoon baking soda and 3/4 teaspoon salt
- 3/4 cup brown sugar, packed down
- 3/4 cup granulated sugar
- 1 1/2 cups chocolate chips
- 1/2 cup chopped nuts (optional)
Recipe Card Instructions
Include a card with these instructions:
To make cookies: Empty jar contents into a large bowl and mix well. Add 3/4 cup softened butter, 1 large egg, and 1 teaspoon vanilla extract. Mix until combined. Drop by rounded tablespoons onto a baking sheet and bake at 350°F for 9-11 minutes until golden brown. Makes about 2 dozen cookies. Enjoy!
Variations and Personalization
Customize your cookie mix based on the recipient’s preferences:
- Substitute white chocolate chips and dried cranberries for a festive twist
- Add cinnamon, nutmeg, and ginger for a spiced cookie
- Use gluten-free flour for those with dietary restrictions
- Include vegan instructions (flax egg, plant butter) for plant-based friends
This gift brings the joy of freshly baked cookies without the hassle of gathering ingredients. It’s perfect for busy friends, families with children who enjoy baking together, or anyone with a sweet tooth.
7. Propagated Plant Cuttings in Upcycled Containers
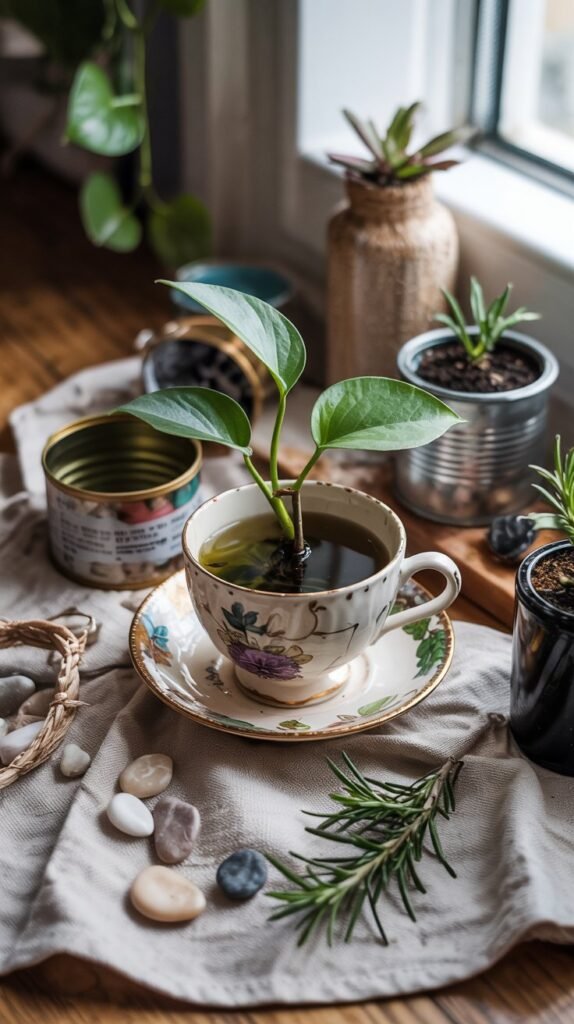
Share the joy of your houseplants by gifting cuttings in creative, upcycled containers. This zero-waste gift literally grows in value over time and connects the recipient to your plant’s lineage.
Difficulty Level: Medium
Requires some plant knowledge and advance planning.
Time Required: 30 minutes active time + 4-6 weeks growing time
Start early to allow plants to establish before gifting.
Materials Needed
- Healthy cuttings from easy-to-propagate plants
- Interesting containers: teacups, small tins, glass bottles
- Potting soil or appropriate growing medium
- Small rocks or pebbles for drainage
- Activated charcoal (optional, helps prevent mold in containers without drainage)
- Decorative moss or small stones for top dressing
- Plant care tags
Best Plants for Beginners
Pothos or Philodendron
Root easily in water, then transfer to soil
Spider Plant Babies
The little plantlets that grow on long stems
Succulents
Leaf cuttings or offsets root readily
Step-by-Step Instructions
- Take healthy cuttings from your plants 4-6 weeks before gifting.
- Root in water or directly in soil, depending on plant type.
- Once rooted, prepare containers by adding drainage materials.
- Add potting mix appropriate for the plant type.
- Plant rooted cuttings and add decorative top dressing.
- Create care tags with watering and light instructions.
- Allow plants to acclimate to their new containers before gifting.
Creative Container Ideas
Look around your home for unique containers that could house a small plant:
- Vintage teacups or mugs with hairline cracks (no longer good for hot liquids)
- Small tin cans painted in pretty colors
- Glass bottles or jars for water propagation
- Hollow wooden items like small bowls or boxes lined with plastic
- Eggshells in egg cartons for tiny seedlings or succulents
Plant Parenthood Tip: If your container doesn’t have drainage holes, create a drainage layer with small rocks and activated charcoal, and be careful not to overwater.
This living gift brings nature indoors and can become a lasting reminder of your relationship. Many plant lovers can point to plants in their collection that came from friends or family members years ago.
Sustainable Gift Wrapping Ideas
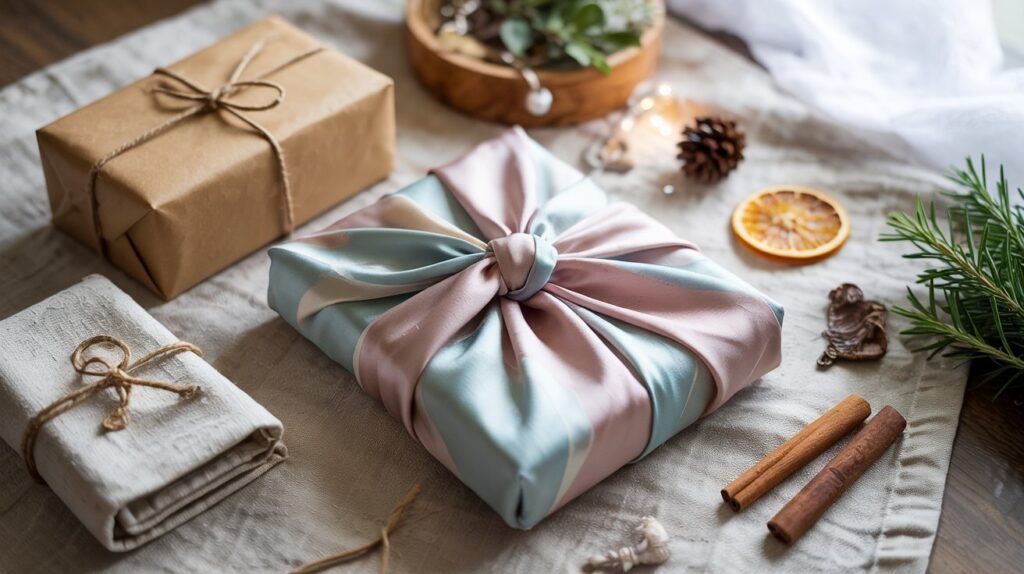
The wrapping is part of the gift when you use these sustainable packaging ideas. Not only do they look beautiful, but they also eliminate the waste of traditional wrapping paper (which is often not recyclable due to its coating).
Fabric Wrapping (Furoshiki)
The Japanese art of fabric wrapping creates beautiful, reusable gift coverings. Use:
- Scarves (the wrapping becomes part of the gift)
- Tea towels or cloth napkins (also part of the gift)
- Fabric scraps from your stash
- Secondhand fabric finds from thrift stores
Paper Alternatives
If you prefer paper wrapping, choose sustainable options:
- Brown kraft paper decorated with stamps or drawings
- Pages from old books or maps (for small gifts)
- Children’s artwork
- Newspaper decorated with natural elements
- Paper grocery bags turned inside out
Natural Decorative Elements
Skip the plastic bows and use these natural embellishments:
- Twine or cotton string instead of ribbon
- Sprigs of evergreen, rosemary, or other herbs
- Dried orange or apple slices
- Cinnamon sticks or star anise
- Small pinecones or acorns
- Dried flowers or seed heads from your garden
“The care you put into wrapping a gift sustainably shows an extra level of thoughtfulness. It says you care not just about the person, but about the planet they live on too.”
These wrapping ideas extend the zero-waste philosophy to every aspect of your gift-giving. They add a natural, rustic charm that perfectly complements handmade presents and shows attention to detail from the inside out.
Embrace the Joy of Sustainable Giving
Creating zero-waste homemade gifts isn’t just about reducing environmental impact,though that’s certainly a wonderful benefit. It’s about reclaiming the true spirit of gift-giving: the thoughtful consideration of what might bring joy to someone you care about, and the investment of your time and creativity to make it happen.