Easy Botanical Foam Clay Napkin Rings (DIY)
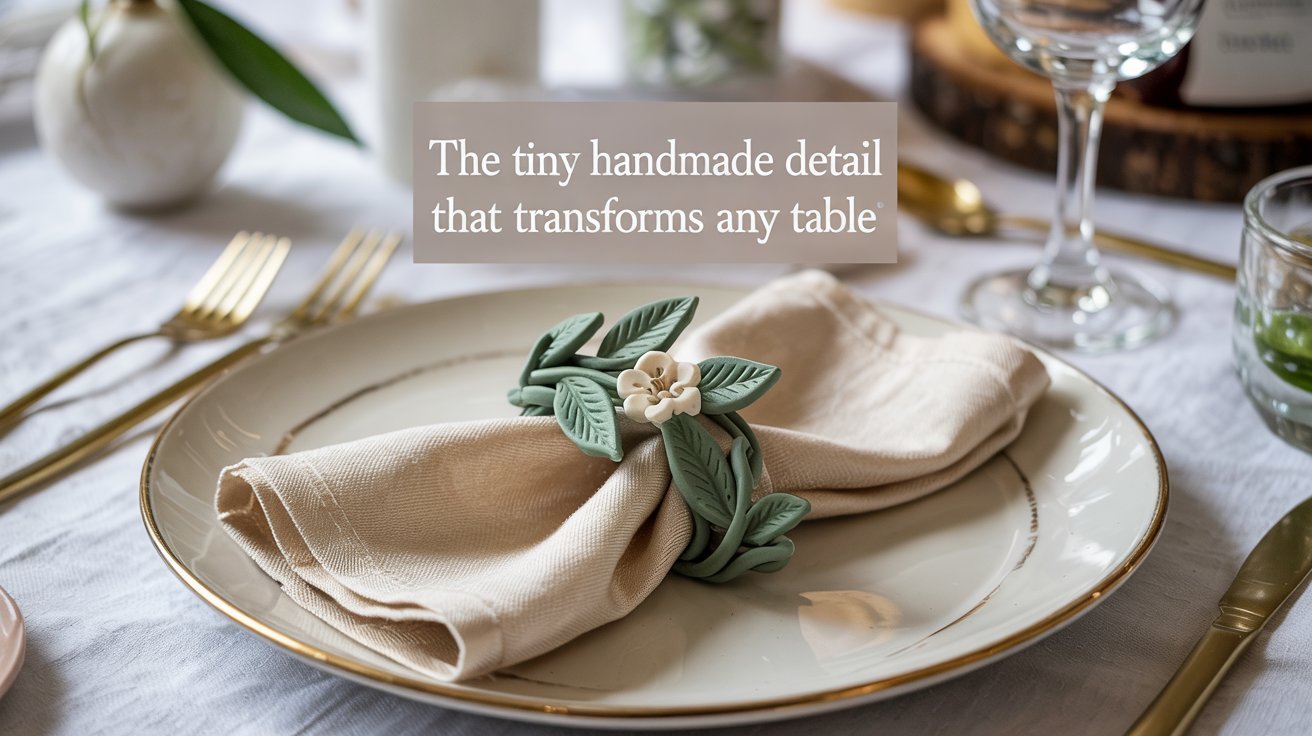
There’s something magical about handcrafted table elements that store-bought pieces simply can’t match. These botanical foam clay napkin rings bring a touch of nature’s artistry to your table, creating an atmosphere of thoughtful hospitality that guests will notice. The lightweight, pliable nature of foam clay makes this project wonderfully accessible, even if you’ve never crafted with clay before. I’ll guide you through creating these delicate botanical accents that will transform ordinary napkins into something truly special.
Materials You’ll Need for Foam Clay Napkin Rings
Everything you need to create beautiful botanical napkin rings
- Foam clay (green, white, or neutral tones)
- Plain napkin rings or cardboard rings (base)
- Toothpick or sculpting tool
- Small bowl of water
- Acrylic paint (optional)
- Clear sealer (optional)
Pro Tip: Neutral bases keep botanical details looking elegant. For a cohesive look, choose foam clay colors that complement your existing table linens.
Step 1: Prepare the Napkin Ring Base
The foundation of your botanical napkin rings is crucial for durability and appearance. You have two options: use pre-made plain napkin rings as your base, or create your own from cardboard tubes (like toilet paper rolls).
If using pre-made rings, wipe them with a dry cloth to remove any dust or residue. For cardboard rings, cut toilet paper rolls into 1.5-inch sections. Cover the cardboard with clear tape to create a smooth, non-absorbent surface that will better hold the foam clay.
Gently rough up the surface of either base type with fine sandpaper or the back of a butter knife. This creates tiny grooves that help the foam clay adhere more securely to your base, preventing peeling or separation later.
Step 2: Shape Botanical Elements
Now for the creative heart of our project! Take small pieces of foam clay and warm them between your palms until soft and pliable. This is where you’ll create the botanical elements that will adorn your rings.
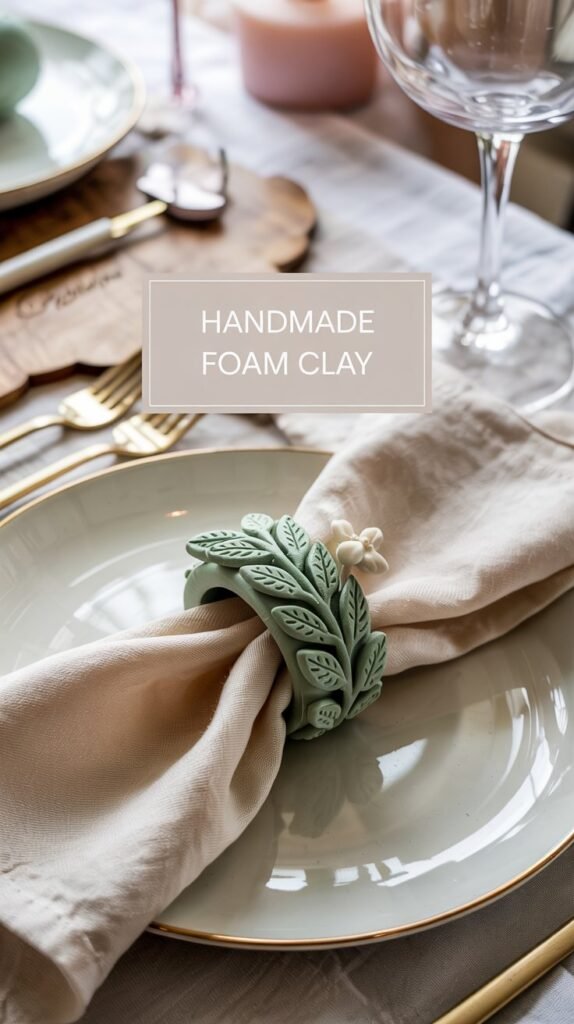
For leaves, roll small balls of green foam clay and gently press them flat between your fingers. Shape one end to a point and the other slightly rounded. For vines, roll thin strands of clay between your palms, creating gentle curves as you go. Small flowers can be formed by flattening tiny balls and pressing the center with a toothpick.
Keep your botanical elements proportional to your napkin rings, smaller details tend to look more elegant and hold up better after drying. Vary the sizes slightly for a more natural, organic appearance.
Pro Tip: Smaller details hold up better after drying. If your clay feels sticky, dust your fingers with a tiny amount of cornstarch to prevent sticking.
Step 3: Attach Designs to the Ring
With your botanical elements shaped and ready, it’s time to attach them to your napkin ring base. This step requires a gentle touch and thoughtful arrangement.
First, decide on a design pattern. You might create a continuous vine wrapping around the entire ring, a clustered arrangement on just one section, or evenly spaced elements all around. Lightly mark your intended placement with a pencil dot if needed.
Press each element onto the base with gentle but firm pressure. If the clay isn’t adhering well, dip your finger in water and lightly moisten the back of the clay piece before pressing it down. For vines that wrap around the ring, start at one point and work your way around, pressing as you go.
After placing each element, check that your napkin ring still sits flat on the table. Adjust any protruding pieces that might cause it to wobble.
Step 4: Add Texture & Detai
The magic of botanical designs lies in their delicate details. Now that your elements are securely attached, let’s bring them to life with texture.
For leaves, use a toothpick to gently draw veins from the center outward. Don’t press too hard, just enough to create a visible line. For flowers, create texture by making tiny indentations in the petals or adding a small center dot in a contrasting color.
Add subtle curves to leaves and petals by gently pressing with your fingertip to create natural-looking bends. This dimensional quality catches light beautifully and makes your designs look more realistic.
Take a moment to refine any rough edges by smoothing them with a damp fingertip. Remember that in nature, nothing is perfectly symmetrical, those tiny imperfections are what make handcrafted items special.
Pro Tip: Botanical designs look best slightly imperfect. Embrace the handmade quality rather than striving for machine-like precision.
Step 5: Drying & Finishing
Proper drying is essential for your foam clay napkin rings to maintain their shape and durability. Place your finished rings on a flat, non-stick surface in a dry, room-temperature location away from direct sunlight.
Most foam clay requires 24-48 hours to dry completely, but check your specific clay’s instructions. Avoid handling the rings during this time to prevent fingerprints or distortion of your delicate designs.
Once dry, you can enhance your botanical elements with optional finishing touches. A light dusting of pearl or metallic acrylic paint on leaf edges adds a subtle shimmer. For more vibrant colors, use a small brush to apply acrylic paint to specific elements.
For durability, especially if you plan to use these rings frequently, apply a thin coat of clear sealer. This provides light moisture resistance and protects your beautiful details. Allow the sealer to dry completely before using your napkin rings.
Styling Your Botanical Napkin Rings

Everyday Elegance
Pair with simple linen napkins and minimalist dinnerware for a touch of nature in your daily meals. The botanical elements bring life to even the simplest table setting.

Seasonal Celebrations
Match napkin colors to the season and add complementary decor elements. Spring pastels, summer brights, or autumn earth tones all pair beautifully with botanical designs.

Special Occasions
For holidays and gatherings, incorporate your napkin rings into a more elaborate tablescape. They add a personal, handcrafted element that guests will notice and appreciate.
Beginner Mistakes to Avoid
Common Pitfalls
- Adding too much clay at once – This can make your rings heavy and more likely to crack or break. Work with small amounts for delicate, durable designs.
- Overworking the clay – Excessive handling makes the clay sticky and difficult to shape. Work efficiently and let the clay rest if it becomes too soft.
- Skipping proper drying time – Rushing this step leads to fragile rings that may break when used. Allow the full recommended drying period.
- Making details too large or thick – Oversized elements can look clumsy and are more prone to breaking. Keep botanical details proportional to the ring size.
Create Your Own Natural Table Accent
The beauty of these botanical foam clay napkin rings lies in their simplicity and personal touch. Unlike store-bought versions, each one carries the subtle uniqueness of handcrafted items, the gentle curve of a leaf that’s yours alone, the particular arrangement of elements that reflects your aesthetic.
Don’t worry about achieving perfection. The slight variations between each ring create a charming, collected feel that mass-produced items simply can’t match. This project is wonderfully forgiving,if you don’t love a design, simply remove the clay and start fresh before it dries.
I encourage you to experiment with different botanical shapes to create a coordinated set that feels cohesive while embracing natural variation. Your table will feel more thoughtfully prepared, more intimately yours, with these small but significant handcrafted touches.
If you like this article, you’ll love Foam Clay Ideas for Home Accents