How to Make a Beaded Plant:
Imagine having gorgeous, vibrant plants that never need watering, never wilt, and always look perfect. That’s the magic of beaded plants! These sparkling botanical creations combine the beauty of nature with the shimmer of jewelry, creating eye-catching decor that lasts forever. Whether you’re a craft enthusiast or someone who struggles to keep real plants alive, this step-by-step guide will walk you through creating your own stunning beaded plant masterpiece.
Jump To Section
- Materials You’ll Need
- Preparing Your Pot
- Making Basic Beaded Stems
- Assembling Your Beaded Plant
- Creative Variations to Try
- Pro Tips for Perfect Beaded Plants
- Displaying and Caring for Your Beaded Plants
The best part? You’ll only need a few basic materials and some creativity to bring these botanical beauties to life. Ready to create something special that will brighten your space for years to come? Let’s get started!
Materials You’ll Need
All the supplies you’ll need gathered before starting your beaded plant project
- Beads: Assorted green beads in various sizes and shades (transparent, opaque, matte, glossy) for leaves. Optional flower beads or accent colors for variations.
- Wire: 24-26 gauge craft/jewelry wire (green or silver) – flexible enough to shape but sturdy enough to hold beads.
- Tools: Wire cutters, round-nose pliers for shaping, and regular pliers for bending.
- Base: Small decorative pot (3-4 inches is ideal) and floral foam to anchor your creation.
- Finishing touches: Brown acrylic paint, small paintbrush, decorative moss or small rocks (optional).
Pro Tip: Choose beads with holes large enough to thread easily onto your wire. A variety of bead shapes and sizes will create more interesting, natural-looking plants. Consider transparent beads that catch the light beautifully!
Setting Up Your Workspace
Before diving into the creative process, set up a comfortable workspace with good lighting. Beads can roll away easily, so working on a towel or bead mat will help keep them contained. Arrange your materials within easy reach and have a small container ready for any scraps.
Preparing Your Pot
- Cut the floral foam to fit snugly inside your chosen pot. It should sit just below the rim.
- Before inserting the foam completely, paint the top surface with brown acrylic paint to mimic soil. Allow the paint to extend slightly over the edges for a natural look.
- Once the paint is dry, push the foam firmly into the pot. If it feels loose, add small foam scraps around the sides to secure it.
The foundation of your beaded plant is just as important as the beaded stems themselves. A secure base ensures your creation will stand beautifully for years to come.
Creating Your Beaded Plant: Step-by-Step
Making Basic Beaded Stems
- Cut your wire: Start by cutting pieces of wire approximately 10-14 inches long. The length will determine how tall your stems will be.
- Create the stopping point: Using your round-nose pliers, form a small loop at one end of the wire to prevent beads from sliding off.
- Add your beads: Thread beads onto the wire, leaving about 2-3 inches of wire at the end for securing into the foam. Mix different sizes and shades for a more natural look.
- Secure the end: Once you’ve added all your beads, bend the wire back through the last bead and pull tight to secure. Trim any excess wire.
Shaping Your Stems
The beauty of beaded plants lies in their shapes and arrangements. Here are some basic shapes to try:
Straight Stems
Perfect for grassy plants or tall succulents. Simply keep the wire straight after beading and insert directly into the foam.
Curved Stems
Gently bend the beaded portion of the wire to create graceful curves that mimic natural plant growth patterns.
Looped Leaves
Create a loop in the middle of your beaded section and twist the wire to secure, forming a leaf shape. Multiple loops can create complex leaf structures.
Spiral Stems
Wrap your beaded wire around a pencil to create a spiral effect, perfect for trailing plants like string of pearls.
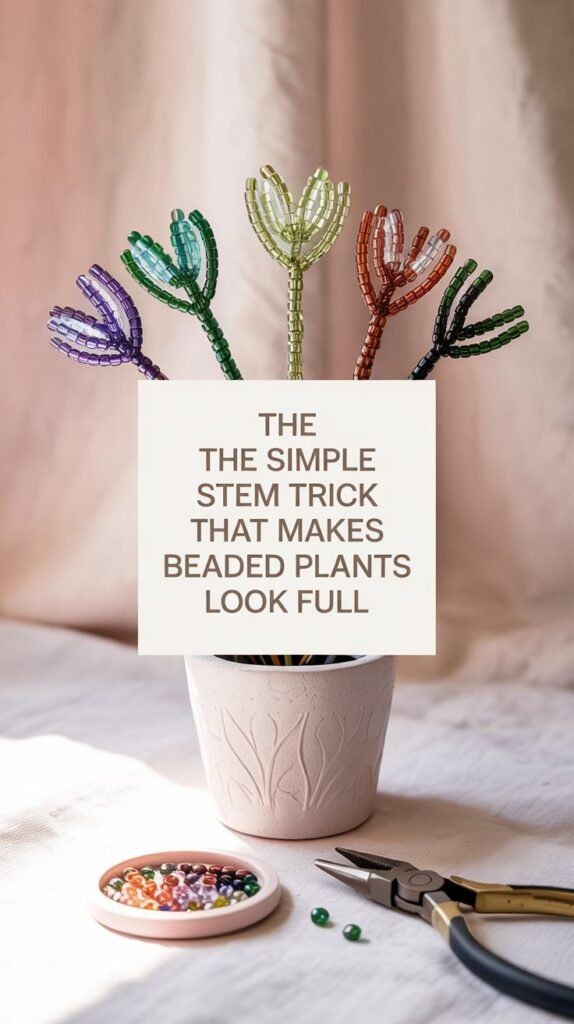
Pro Tip: Make at least 20-30 stems for a full-looking plant. Varying the length and style of stems will create a more natural, lush appearance.
Assembling Your Beaded Plant
Arranging Your Creation
Now comes the fun part, bringing your beaded plant to life! Follow these steps to create a balanced, beautiful arrangement:
- Start from the center: Begin by inserting your tallest stems in the center of the pot.
- Work outward: Add medium-length stems around the center, angling them slightly outward.
- Fill the edges: Place your shortest or most curved stems around the edges, allowing some to cascade over the sides of the pot.
- Adjust and balance: Step back occasionally to check your arrangement from different angles, adjusting stems as needed for balance.
- Secure loose stems: If any stems feel loose in the foam, remove them, add a small dab of hot glue to the wire end, and reinsert.
Finishing Touches
To give your beaded plant a polished, professional look:
- Cover the foam: Add decorative moss, small stones, or colored sand to cover the foam base and create a finished look.
- Final adjustments: Gently bend and position stems for the most natural appearance.
- Check stability: Ensure your creation is stable and balanced, especially if you’ve made a taller arrangement.
Creative Variations to Try
Once you’ve mastered the basic technique, the possibilities are endless! Here are some inspiring variations to try:
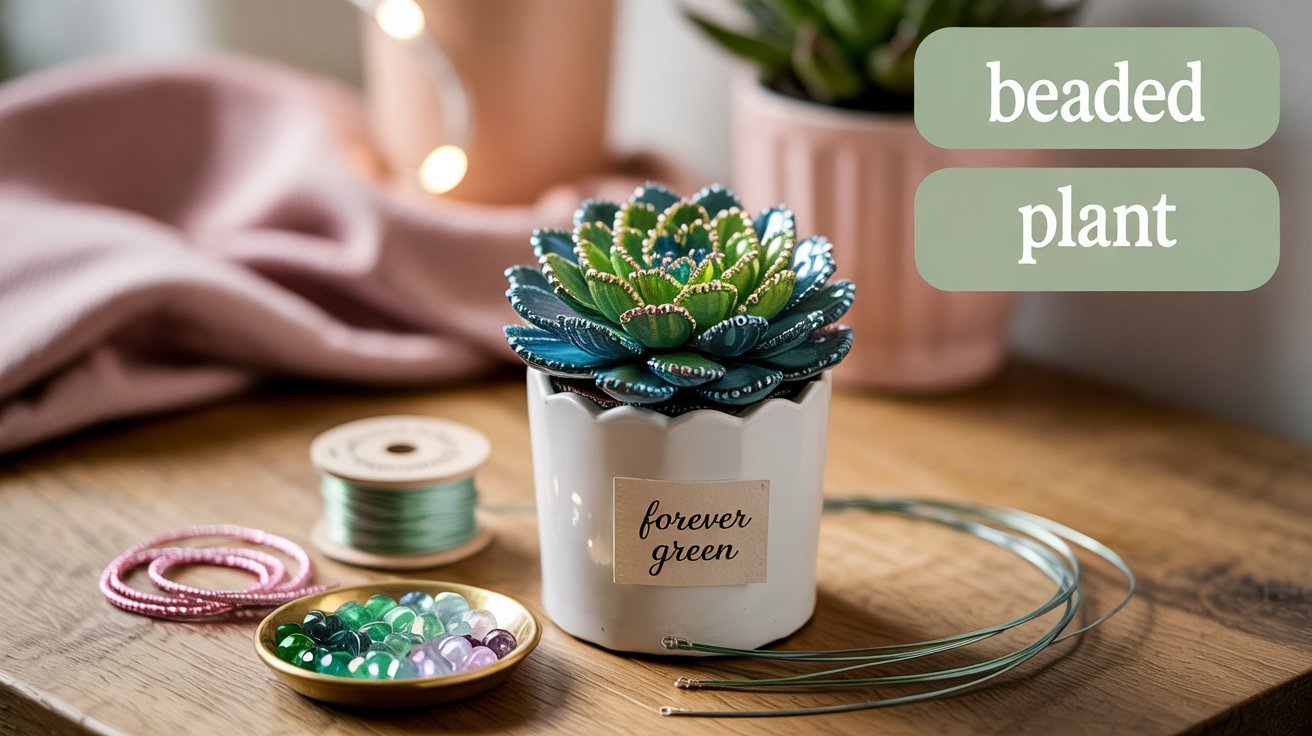
Beaded Succulent
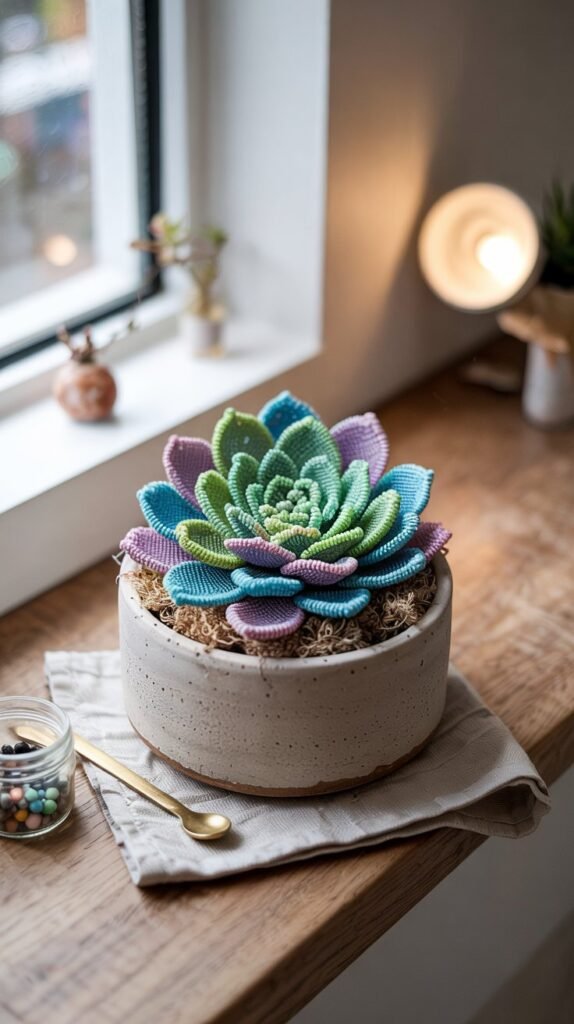
Create rosette patterns with tightly clustered beads. Use shorter, thicker stems and arrange them in a circular pattern. Mix in purple or blue beads for an echeveria look.
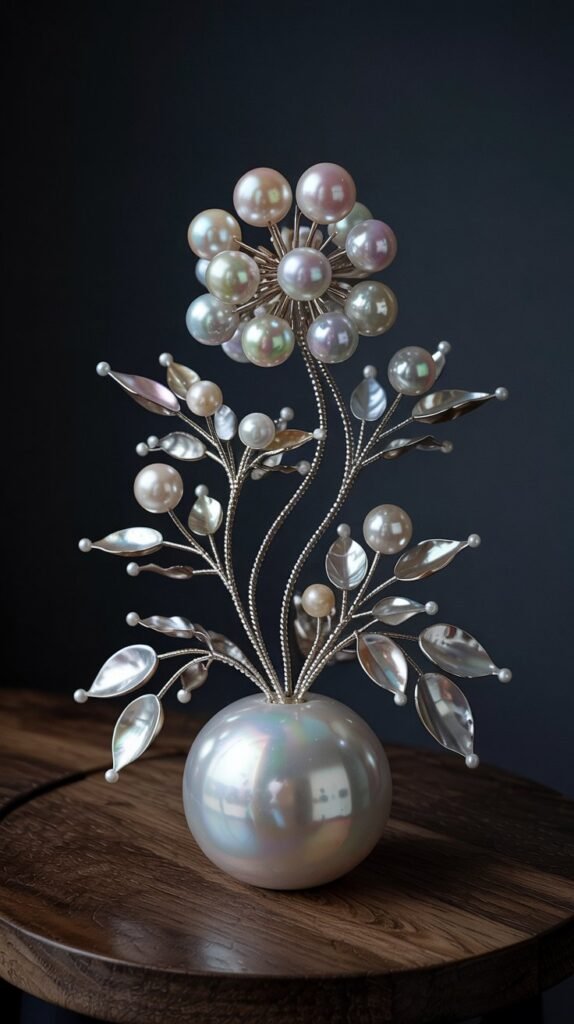
String of Pearls
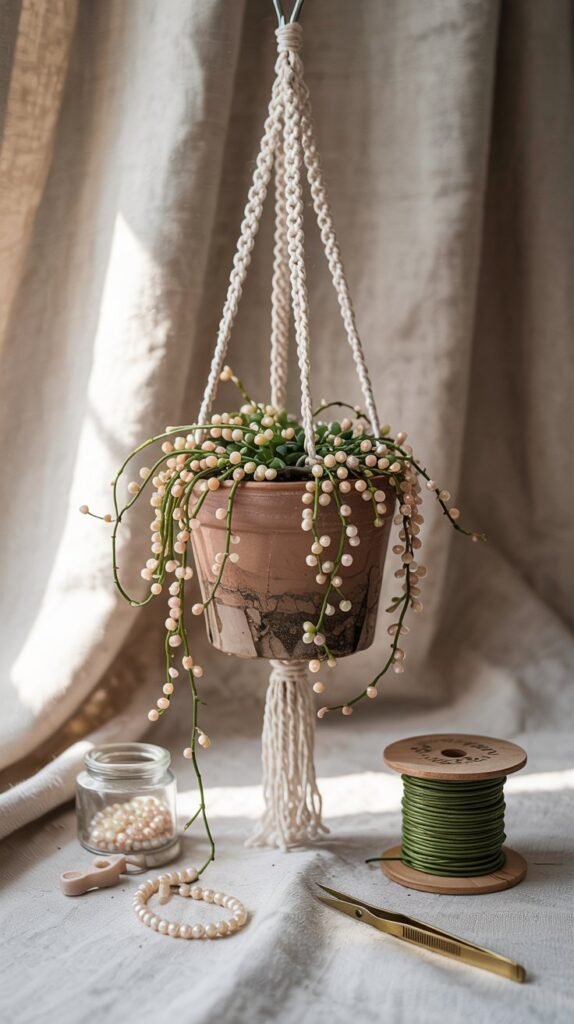
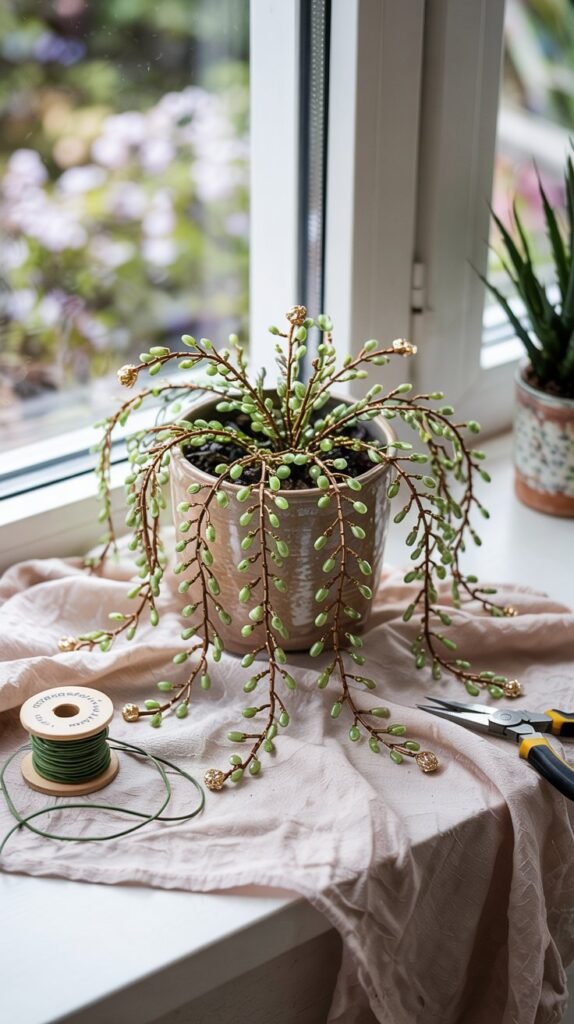
Create long, spiral stems with evenly spaced round beads. Let them trail over the edge of your pot for a dramatic cascading effect.
Flowering Plant
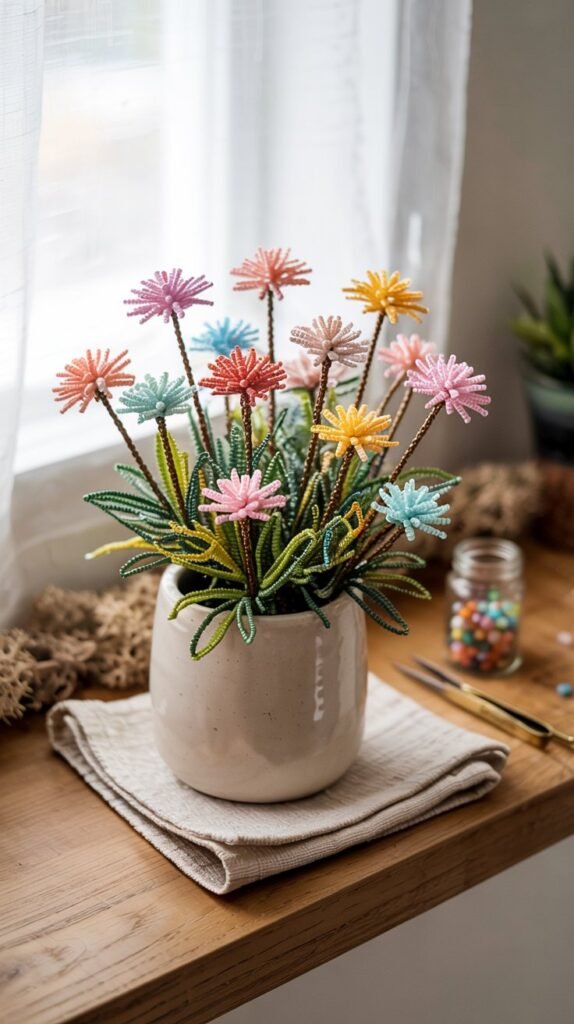
Add flower-shaped beads or create flower shapes with loops of smaller beads at the tips of some stems. Mix in bright colors for a blooming effect.
The joy of beaded plants is that you can create varieties that don’t even exist in nature. Let your imagination run wild with color combinations and patterns!
A collection of different beaded plant styles showing the versatility of this craft
Seasonal Variations: Create holiday-themed beaded plants using seasonal colors, red and green for Christmas, orange and black for Halloween, or pastels for spring. Add tiny charms or specialty beads for extra flair!
Pro Tips for Perfect Beaded Plants
Wire Management
- Prevent scratches: Fold over any sharp wire ends to prevent scratches.
- Wire color matters: Green wire blends better with plant-themed projects, while silver adds sparkle.
- Wire thickness: Thinner wire (26 gauge) works well for delicate designs, while thicker wire (24 gauge) provides more structure for larger beads.
Bead Selection
- Mix textures: Combine matte and glossy beads for more visual interest.
- Size gradient: Use larger beads at the base of stems, gradually moving to smaller beads at the tips.
- Color variations: Mix different shades of green for a more natural look, adding yellow-greens for highlights and blue-greens for shadows.
Advanced Techniques
- Wire wrapping: For extra security and decorative effect, try wrapping thin wire around sections of your beaded stems.
- Branching stems: Create Y-shaped branches by twisting two beaded wires together at the base.
- Layered leaves: Stack multiple beaded loops to create complex leaf structures.
- Mixed media: Incorporate fabric leaves, ribbon, or other materials for unique effects.
Troubleshooting Tip: If your beaded plant seems too sparse, don’t hesitate to add more stems! Most successful beaded plants have 30-40 individual stems for a full, lush appearance.
Displaying and Caring for Your Beaded Plants
Perfect Placement
Unlike real plants, your beaded creations can thrive anywhere! Here are some ideal locations:
- Windowsills: Transparent beads catch the light beautifully near windows.
- Bookshelves: Add a pop of color and texture among books and decorative objects.
- Bathroom counters: A perfect spot for “plants” that don’t need humidity or light.
- Office desks: Brighten your workspace with maintenance-free greenery.
- Bedside tables: Add a touch of nature without worrying about watering.
Maintenance Tips
While beaded plants don’t need watering or sunlight, they do benefit from occasional care:
- Dusting: Gently dust your beaded plants with a soft brush or compressed air.
- Reshaping: Occasionally adjust stems that may have bent out of shape.
- Securing: If stems become loose over time, remove and reinsert with a small dab of hot glue.
- Refreshing: Replace any beads that may have fallen off by creating new stems.
Regular gentle dusting keeps your beaded plants looking their best
The best thing about beaded plants is that they bring the beauty of nature into your home without any of the maintenance. They’re perfect for those of us who love plants but don’t have a green thumb!
Ready to Create Your Own Beaded Botanical Garden?
Creating beaded plants is not just a craft, it’s a way to bring permanent beauty into your home. With just a few materials and some creative energy, you can design stunning botanical art that never needs watering, never wilts, and always looks perfect. The techniques you’ve learned here can be adapted and expanded to create an entire collection of unique beaded botanicals.
Whether you make them for yourself or as thoughtful gifts, these sparkling creations are sure to bring joy and a touch of handmade charm to any space. The only limit is your imagination!