Macrame Table Runner
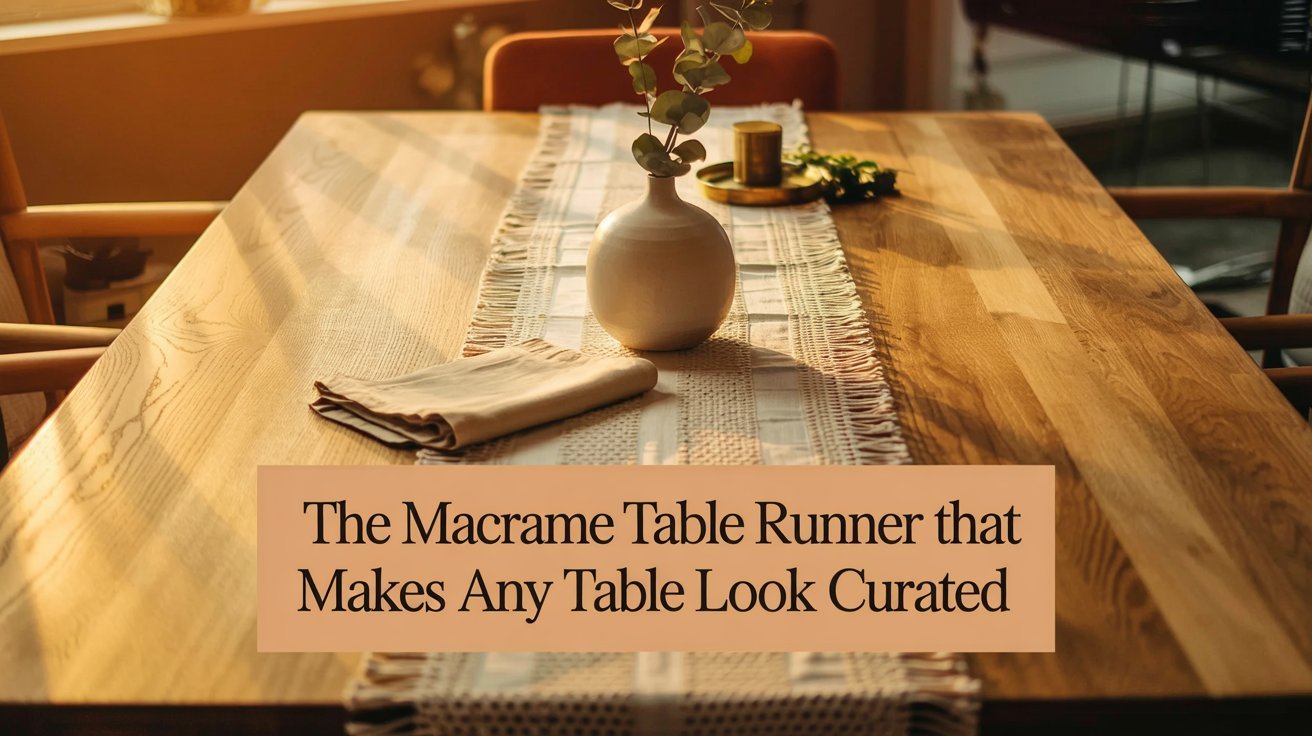
Ready to make a handmade macrame table runner? This step‑by‑step guide walks you through choosing cord, cutting lengths, and tying each knot row‑by‑row so you can create a 40 in (100 cm) × 12 in (30 cm) runner with a fringed edge and a simple diamond/chevron pattern.
Estimated time: 3–5 hours.
Difficulty: Moderate (best after you’ve practiced square knots and half hitches).
Materials & tools
- 3–4 mm 3-ply cotton macrame cord (natural or colour of choice), soft, non-slippery cotton works best for even knots
- Wooden dowel or decorative rod, 16–18 in (40–45 cm) long (a little wider than the runner)
- Tape measure
- Sharp scissors
- Ruler or long straight edge
- Comb or small wire brush (for finishing fringe)
- Masking tape or clamps (optional, to secure cords while working)
- Beads or wooden rings (optional embellishments)
Finished size & cord calculations (rule-of-thumb explained)
- Finished runner (excluding fringe): 40 in (100 cm) long × 12 in (30 cm) wide.
- When using folded Lark’s Head attachments, each working cord is doubled, plan accordingly.
- Rule of thumb: For most macrame projects, cut each working cord 4× the finished vertical length when used single, and 8× when you fold them. Table runners use many knots and repeat rows so add extra.
For this pattern:
- You’ll attach 16 cords to the dowel, arranged as 8 pairs (16 doubled cords = 32 working strands).
- Each pair will be 8 m (approx) to be safe. Detailed math: runner length 100 cm × 8 = 800 cm (8 m) per cord. Add 0.5–1 m extra for fringe and knotting. So buy about 60–80 m total depending on repeats and fringe. (If you want exact meter math for a different chosen size, follow the cutting worksheet below.)
Cutting worksheet (quick method)
- Decide finished vertical length L (cm). For this tutorial L = 100 cm.
- Multiply by 8 if folding (L × 8). Example: 100 × 8 = 800 cm per cord → 8 m.
- Add 50–100 cm for safety per cord. Round up and cut.
- Multiply by the number of cords. Example: 16 cords × 8.5 m ≈ 136 m total cord.
Basic knots used (practice these first)
- Lark’s Head Knot (to attach cords to rod)
- Square Knot (flat decorative knot)
- Double Half Hitch (for diagonal lines and outlining)
- Gathering Knot (to finish the ends / create neat joins)
Preparation
- Practice each knot on a scrap dowel until comfortable.
- Set up your workspace: hang the dowel at eye height on a hook, curtain rod or clamp to a door. Good lighting is helpful.
- Lay out your cords on a flat surface, group and label pairs.
Step-by-step pattern overview
- Row A: Attach cords to dowel with Lark’s Head (16 doubled cords → 32 working strands).
- Row B: Work three rows of square knots across (creates the main body).
- Row C: Use alternating square knots to create diamond sections.
- Row D: Use double half-hitches to create diagonal outlines and chevrons.
- Row E: Finish with a gathering knot, trim and comb fringe.
Detailed step-by-step instructions
1 Attaching cords
- Fold each cord in half. Make a Lark’s Head Knot over the dowel so that each folded loop sits on the dowel and two working ends hang down.
- Attach 16 folded cords evenly across the dowel, you’ll have 32 working ends hanging. Space them to match the desired runner width (about 12 in / 30 cm).
2 Create a base row of square knots (Row B)
- Group the hanging strands into sets of 4 (left to right). Each set of 4 will make one square knot.
- Tie square knots across the full width:
- Make a left half of the square: left outer cord over the two center (filler) cords and under the right outer cord. Right outer cord goes under the filler cords and through the loop. Pull snug but not too tight.
- Repeat to complete the square knot by reversing sides.
- Repeat for 3 full rows of square knots, leaving about 2–3 cm vertical space between rows (adjust spacing to taste).
3 Build the diamond pattern (Row C)
- To make diamonds, work alternating square knot groups:
- Row 1: Square knots across (as before).
- Row 2: Offset by two cords: use the 2nd, 3rd, 4th, 5th cords as the first square knot, then continue every group of 4. This offset creates staggered knots which form the diamond lattice.
- Repeat these two rows to form a diamond field about 30–40 cm long depending on desired look.
4 Add chevron/diagonal lines with double half-hitches (Row D)
- Choose a filler cord on the side of a diamond to act as the anchoring cord. Using a working cord, make a half hitch over the filler cord and repeat to create a double half hitch. Continue horizontally for a short line or diagonally across the diamond to outline shapes.
- To form chevrons at the runner’s center, work double half hitches in opposing diagonal directions from the centreline so they meet and form a V.
- Work these outlines symmetrically on both sides of the runner to keep balance.
5 Alternate textures (optional)
- Introduce spiral knots (half-square knots repeated) for a twisted rope effect in a few columns.
- Add wooden beads onto filler cords before knotting a block to incorporate natural accents.
6 Transition to the lower field and finish
- Repeat the diamond/chevron sections until you reach the desired runner length leaving 12–15 cm at the end for fringe and finishing.
- Make a final row of square knots to tidy the bottom edge.
7 Finishing with a gathering knot
- Gather all working cords and use a short separate length of cord to wrap tightly around them about 4–6 cm from the ends. Secure with a knot and hide the tail by threading it through the wrapped cord or tucking under the wrap.
- Trim the remaining cord ends to desired fringe length (around 10–15 cm) and comb/brush gently to create a soft fringe.
Trimming, shaping and care
- Trim fringe into a gentle V-shape or straight edge for a neat look. Use a ruler to keep symmetry.
- To neaten and soften fringe, lightly comb with a wire brush or comb. For cotton, light steam or a damp cloth can relax fibers, test on a scrap.
- Care: spot clean with mild soap and air dry flat. Avoid machine washing unless you’re using durable synthetic cord, and even then use a protective bag and gentle cycle.
Troubleshooting & tips
- Uneven tension: If parts pull in, your knots are too tight. Practice keeping consistent tension and check rows as you go.
- Running out of cord: Always buy extra. It’s much easier to trim off excess than to reattach new lengths mid-runner.
- Fraying ends: Use a little masking tape to temporarily secure ends while knotting, or lightly singe synthetic cord ends (do not do this with cotton).
- Symmetry: Work mirrored sections from the center outwards for better balance.
Variations & styling ideas
- Color blocks: Use two or three cord colours and switch colours at defined rows to create bands.
- Narrow runner for a long table: Scale width with more cord groups and increase dowel length.
- Add tassels or macrame napkin rings in matching cords for a coordinated table setting.
- Dye it: Natural cotton takes natural dyes well (test small samples first).
Quick knots cheat-sheet (for printing)
- Lark’s Head: Fold cord → loop over rod → pull ends through loop → tighten.
- Square Knot: Left over center, under right → right under center up ➜ tighten; repeat mirrored.
- Half Hitch: Working cord loop over filler cord, pull through loop, tighten.
- Double Half Hitch: Two half hitches tied in succession on same filler cord.
- Gathering Knot: Wrap short cord tightly many times around grouped cords → secure with stitch or tuck.
This table runner pattern is intentionally modular, once you’ve mastered the basic knot groups you can extend length, change width, mix textures and add embellishments to suit your home. Start with the recommended cord thickness and practice the knots first; consistent tension and symmetrical layout are the keys to a professional-looking runner.
If you like this article, you’ll love this Easy Beginner Macrame Projects: DIY Ideas to Start Today