Straight Line Macrame for Beginners: Simple, Stylish & Surprisingly Easy
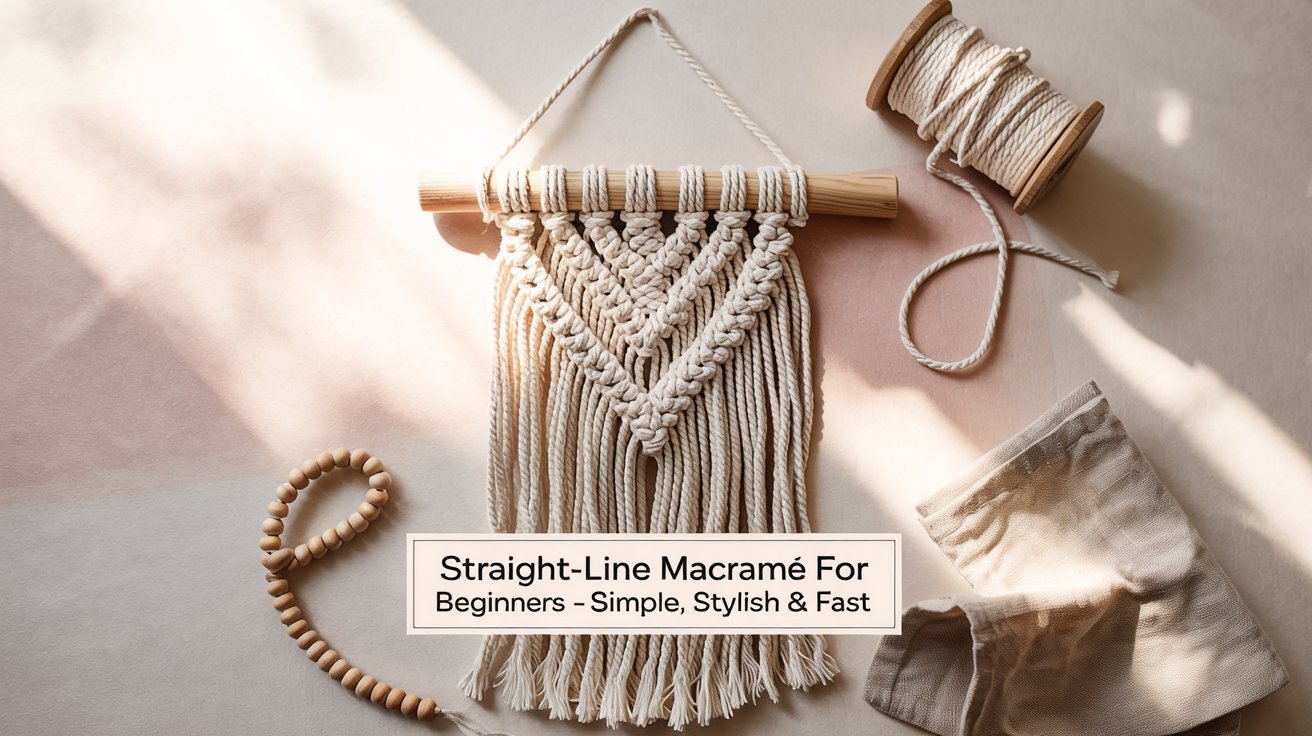
If you’re new to macrame, straight-line designs are about to become your best friend. These sleek, modern patterns don’t just look Pinterest-worthy,they’re actually the perfect starting point for beginners. With just a few basic knots and some simple techniques, you’ll create stunning wall art that looks professional without the complicated learning curve. Ready to transform some cord into something beautiful? Let’s dive into the wonderfully tactile world of straight line macrame.

Why You’ll Love Straight-Line Macrame Designs
Before we get our hands on some cord, let’s talk about why straight-line macrame designs are such a perfect entry point into this craft:
- They’re genuinely beginner-friendly, focusing on just a few knots that create clean, vertical or horizontal lines
- Perfect for narrow spaces in your home,think that awkward wall by your staircase or that empty spot behind your door
- Super versatile,start with one mini hanging, then create a matching set as your confidence grows
- They teach you the fundamentals that apply to all macrame projects
- Even small pieces look expensive when your lines are straight and your knots are neat
The beauty of straight-line macrame is that it teaches you to focus on technique rather than complexity. Master these basics, and you’ll have the foundation for any macrame project you dream up in the future.

What You Need (Nothing Fancy!)
One of the joys of macrame is its simplicity,you don’t need a craft room full of supplies to get started. Here’s your shopping list for your first straight-line project:
Essential Supplies:
- 3–4 mm cotton macrame cord (natural color is best for beginners)
- A small dowel, branch, or piece of driftwood (35–50 cm / 14–20 in)
- Sharp scissors (dedicated to cutting cord if possible)
- Tape measure or ruler
- Comb for fringing
Optional Extras:
- Wooden beads for added texture
- Metal rings for hanging or design elements
- Masking tape or clamps to secure your work
- Colored cord for accent pieces (once you’re comfortable)
Pro Tip: Start with natural, unbleached cotton cord, it’s forgiving, shows your knots clearly, and has a lovely organic texture that elevates even the simplest designs.
Beginner-Friendly Size: Start Small, Dream Big
When it comes to your first straight-line macrame project, size matters. Too big, and you might get overwhelmed,too small, and you won’t get enough practice with the knots.
| Dimension | Recommended Size | Why It Works |
| Width | 20–30 cm (8–12 in) | Wide enough to practice techniques but not overwhelming |
| Length | 30–45 cm (12–18 in) | Includes fringe; allows for several rows of knots |
| Cord Length | 8× your desired finished length | Accounts for knots and fringe with extra to spare |
Starting small has real benefits. You’ll complete your project faster (hello, instant gratification!), use less material, and build confidence with each knot. Trust me,you’ll scale up naturally once you fall in love with your first piece.
The Only Knots You Really Need
The beauty of straight line macrame is that you only need to master a handful of knots to create stunning pieces. Let’s focus on these four essential techniques:
Lark’s Head Knot
This is how you’ll attach your cords to your dowel or rod. It’s the starting point for virtually every macrame project.
- Fold your cord in half to find the middle
- Place the folded loop over your dowel
- Pull the two ends through the loop
- Tighten by pulling downward
Double Half Hitch (DHH)
This is your star player for creating those beautiful straight lines. Master this, and you’ve mastered straight line macrame.
- Choose a filler/anchor cord
- Take working cord behind filler, over front, through loop
- Tighten to complete one half-hitch
- Repeat for second half-hitch in same direction
Square Knot / Spiral Knot
These add texture and visual interest between your straight lines. The square knot is symmetrical, while repeating half of it creates a spiral effect.
- Work with 4 cords (2 middle filler cords, 2 working cords)
- Left cord over middle, under right
- Right cord under middle, through left loop
- Reverse direction for second half (square knot) or repeat same direction (spiral)
Gathering Knot
This is your finishing touch. a clean, professional way to gather cords at the bottom of your piece or create sections.
- Group cords together
- Use a separate cord to wrap around the bundle
- Create a loop at the start, wrap several times
- Thread end through loop and pull tight
Pro Tip: Master the Double Half Hitch (DHH) first. It’s the secret to those clean, professional-looking lines that define straight line macrame.
Quick DHH Hack: Your Secret to Perfect Lines
The Double Half Hitch is the backbone of straight line macrame, so let’s break it down into simple steps:
The key to beautiful straight line macrame is consistent tension in your Double Half Hitch knots. Not too tight, not too loose,just right.
- Choose your anchor cord – This is the cord that stays straight and creates your line
- First half-hitch – Take your working cord behind the anchor cord, bring it over the front, and through the loop you’ve created
- Tighten with care – Pull gently but firmly to secure the knot against the anchor cord
- Second half-hitch – Repeat the process in the same direction to complete your DHH
- Continue down the line – Use the next working cord to tie another DHH below the first one
The magic happens when you maintain consistent tension throughout. Too tight, and your piece will pucker; too loose, and it will look sloppy. Aim for that sweet spot where your line stays straight but the knots still look relaxed and professional.
Pro Tip: Keep your anchor cord taut while working. You can even tape it to your work surface or use a clip to maintain tension while you tie your knots.
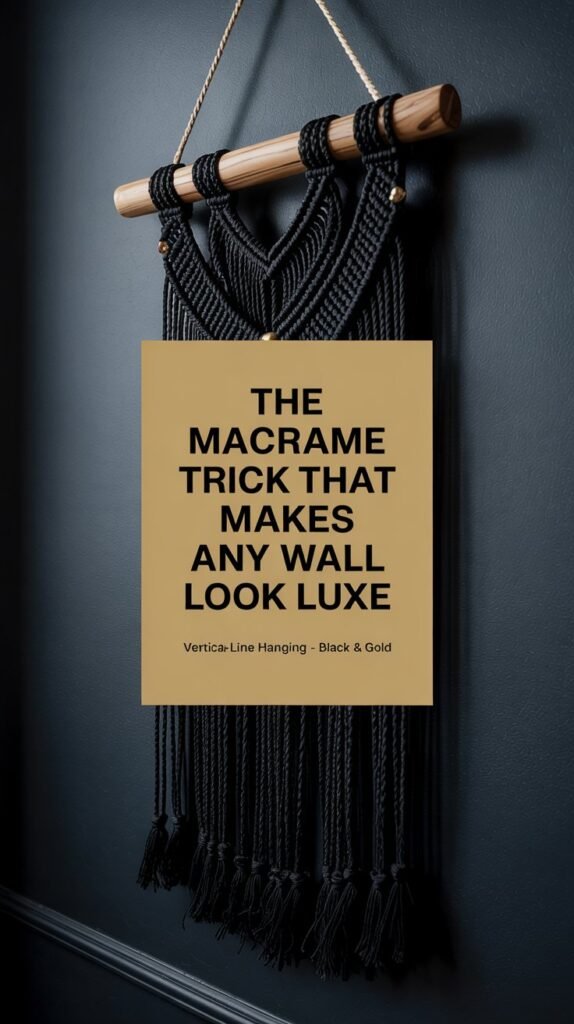
Mini Project: Vertical-Line Hanging
Let’s put everything together with a simple project that showcases beautiful straight lines. This mini wall hanging is perfect for beginners and will give you a gorgeous result in just a few hours.
Project Specs:
- Size: ~25 cm × 35 cm (10″ × 14″)
- Materials: 3-4mm cotton cord, wooden dowel (35cm/14″)
- Cord Prep: 12 folded cords (24 strands total)
- Cord Length: Finished Length × 8 ≈ 224 cm (about 2.6–2.8 m each cord)
Step-by-Step Instructions:
- Attach your cords – Use Lark’s Head knots to attach all 12 cords evenly along your dowel. Space them about 1.5-2 cm apart.
- Create a base band (optional) – For a polished header, work 2 rows of square knots across the top. This creates stability and a clean starting point.
- Choose your vertical anchor cords – Select which cords will serve as your straight-line anchors. For symmetry, mark these cords and ensure they’re evenly spaced.
- Work your vertical lines – Starting with your first anchor cord, use DHH knots to create vertical lines. Work from top to bottom, keeping tension consistent.
- Add texture between lines – Between your vertical lines, add visual interest with a row of square knots or mini spiral knots.
- Finish with fringe – Leave about 8-12 cm for fringe at the bottom. Secure with a gathering knot if desired, then trim ends evenly and comb out for a fluffy finish.
Influencer Hack: Mirror your vertical lines from the center outward for instant symmetry that looks professionally designed. This simple technique elevates your piece from homemade to handcrafted.
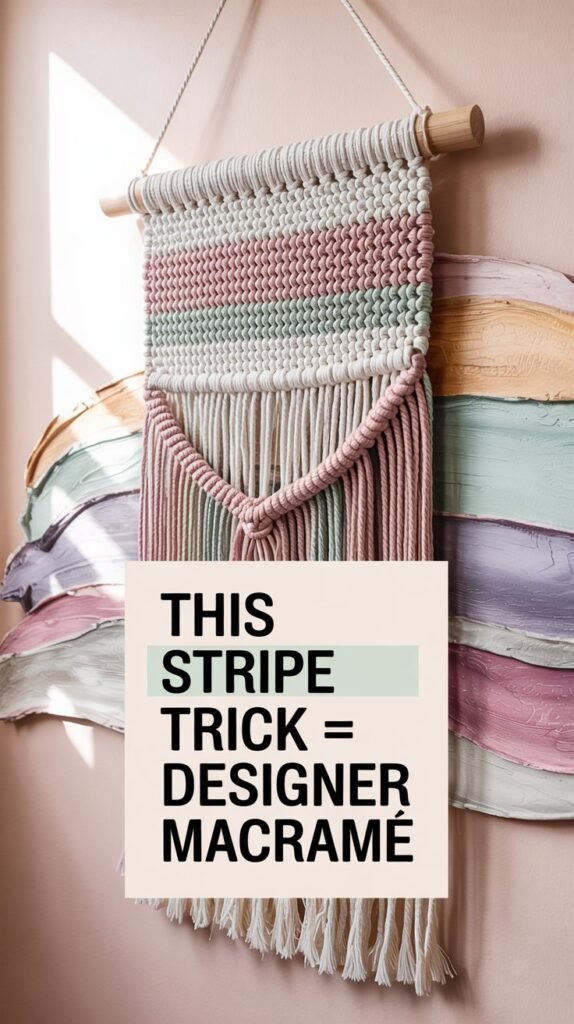
Horizontal Stripes: Fast & Fun Alternative
Once you’ve mastered vertical lines, try your hand at horizontal stripes for a completely different look that uses the same basic techniques.
- Working horizontally – Instead of vertical anchor cords, your anchor cord runs horizontally across your piece
- Creating straight rows – Use a temporary guide line (like a piece of tape on your work surface) to keep your horizontal rows perfectly straight
- Adding color blocks – Horizontal rows are perfect for introducing new colors,simply switch cord colors mid-row for a striking stripe effect
The beauty of horizontal lines is how quickly they work up. You can create a substantial piece in just a few hours, making this technique perfect for when you want a new wall hanging in a hurry.
Pro Tip: For extra-straight horizontal lines, pin your anchor cord to a cork board or tape it to your work surface before beginning your DHH knots.
Design Tips to Slay Your First Project
Even as a beginner, you can create macrame that looks professional and stylish. Here are some design principles that will elevate your straight line projects:
Spacing & Proportion
- Keep 1.5–2 cm between your Lark’s Head knots for a balanced look
- Create rhythm by varying the space between your vertical or horizontal lines
- The rule of thirds works wonders, divide your piece visually into thirds for pleasing proportions
Texture & Accents
- Add tassels strategically for subtle boho energy without overwhelming the design
- Thread wooden beads onto working cords before tying DHHs for instant personality
- Incorporate small sections of square knots between straight lines for textural contrast
Remember that with straight line macrame, less is truly more. Clean lines, intentional spacing, and minimal embellishments create a sophisticated piece that looks expensive and professional.
Influencer Tip: A simple, neat piece always looks more expensive than a cluttered one. When in doubt, edit down your design and focus on execution rather than complexity.
Troubleshooting Like a Pro
Even experienced macrame artists run into challenges. Here’s how to solve the most common issues with straight line macrame:
Common Issues
- Crooked lines – Your anchor cords might not be held taut enough during knotting
- Tight knots pulling in – You may be pulling too hard when tightening DHHs
- Slippery cords – Some cords are naturally more slippery than others
- Uneven spacing – Initial Lark’s Head knots might not be evenly distributed
Simple Solutions
- Recheck anchor cords and maintain consistent tension throughout
- Loosen slightly & adjust tension evenly across all knots
- Try slightly textured cotton or secure with a mini square knot first
- Use a measuring tape to mark even spaces before attaching cords
Remember that perfection comes with practice. Even if your first piece has a few wobbles, it’s still a handmade treasure that you created yourself. Each project will get better as your hands learn the rhythm of the knots.
Your Quick Cheat-Sheet
Here’s a handy reference guide for the essential knots you’ll use in straight line macrame:
| Knot | Quick Steps | Used For |
| Lark’s Head | Loop over dowel → pull ends through loop → tighten | Attaching cords to your dowel or rod |
| Double Half Hitch | Wrap behind anchor → over → through loop → tighten (repeat) | Creating straight vertical or horizontal lines |
| Square Knot | Left over, right under → right over, left under | Headers, texture sections, securing work |
| Gathering Knot | Wrap around grouped cords → thread through loop → pull tight | Finishing sections, creating clean endings |
Print this out or save it to your phone for quick reference while you’re working on your first straight line macrame project.
Your Straight Line Macrame Journey Starts Here
Straight line macrame is the perfect gateway into the wonderful world of fiber arts. It’s simple enough for absolute beginners yet versatile enough to create truly stunning pieces that look professional from day one.
Remember to start small, focus on mastering the Double Half Hitch, and prioritize neat execution over complexity. Before you know it, you’ll be creating wall hangings that friends mistake for expensive boutique purchases.
The beauty of macrame is that each piece carries your unique energy and intention. As you work the cords with your hands, you’re creating not just art but a tactile connection to an ancient craft that spans cultures and centuries.
If you like this article, you’ll love this Easy Beginner Macrame Projects: DIY Ideas to Start Today