5 Easy Ways To Turn Secondhand Finds into Unique Gifts
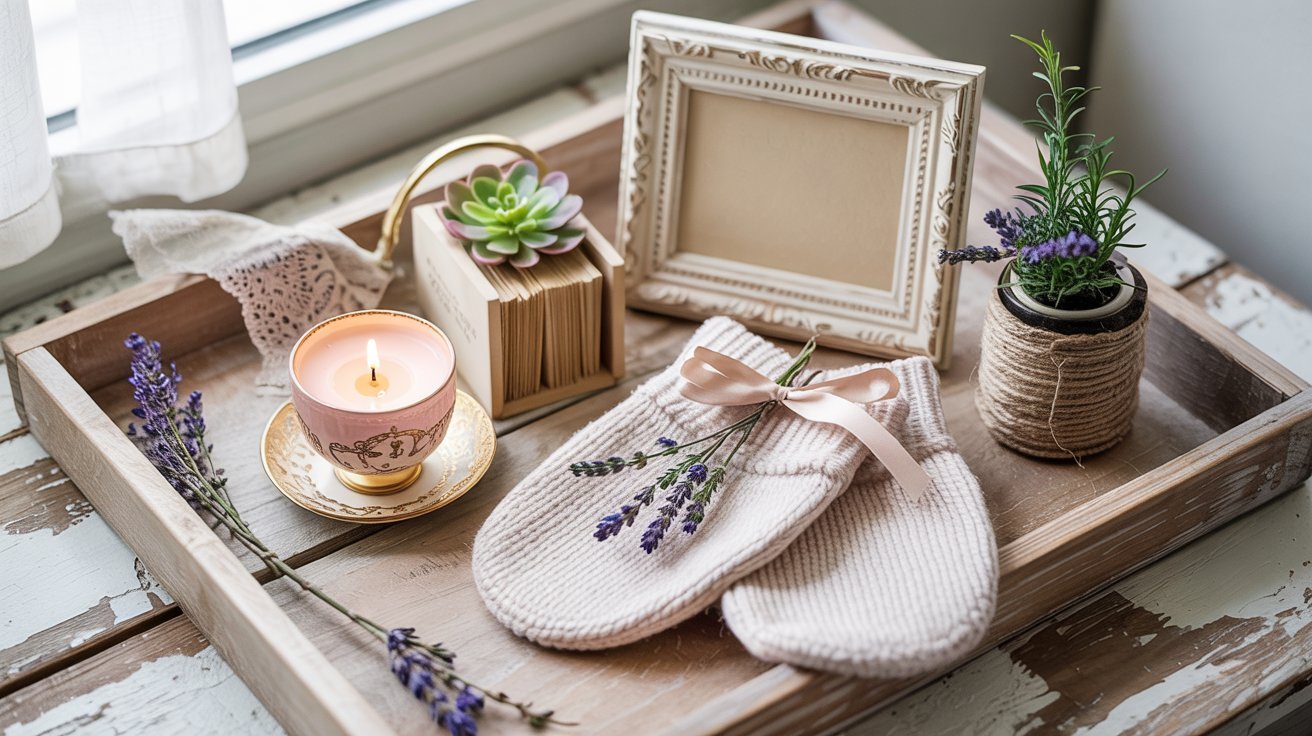
There’s something magical about transforming forgotten treasures into meaningful gifts. When you create upcycled thrifted gifts, you’re not just saving money, you’re crafting something truly one-of-a-kind while giving discarded items a second chance at being cherished.
Each thrift store visit becomes a treasure hunt, each forgotten item a canvas for your creativity. These thoughtful transformations often become the most memorable gifts, carrying stories and personality that store-bought presents simply can’t match.
Ready to create meaningful gifts that won’t break the bank? These five upcycling projects transform ordinary thrift store finds into extraordinary treasures. Each project includes simple steps, materials you’ll need, and tips for personalizing your creation.
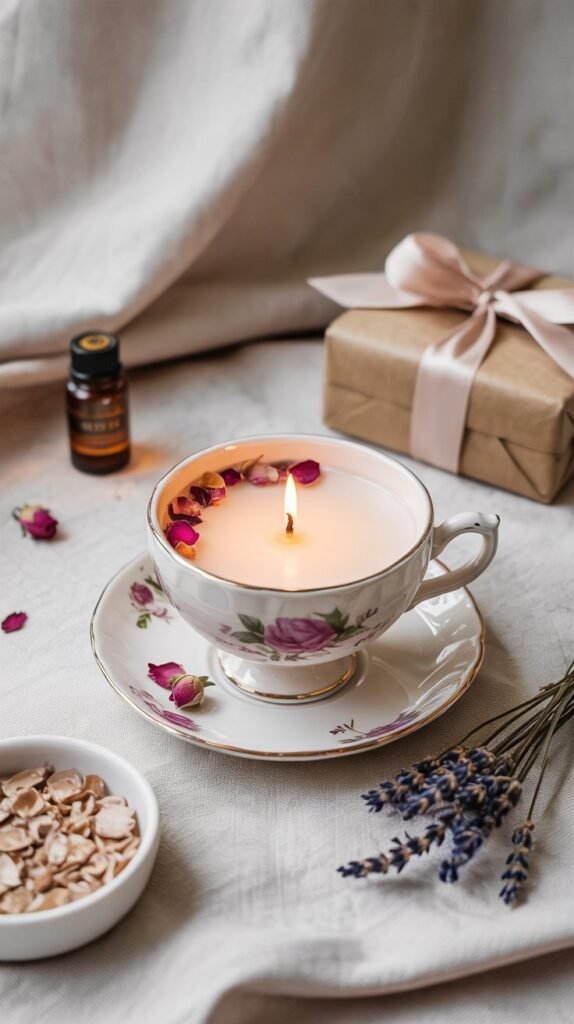
1. Vintage Teacup Candles
Thrifted Item to Look For
Hunt for vintage teacups, orphaned cups without saucers, or small porcelain bowls with interesting patterns. The more unique the vessel, the more special your gift will feel. Floral patterns and gold accents create an especially lovely finished product.
Materials Needed
- Vintage teacup or small porcelain dish
- Soy wax flakes (1 pound makes approximately 2-3 teacup candles)
- Candle wicks with metal bases
- Essential oils or candle fragrance
- Dried flowers or herbs (optional)
- Hot glue gun
- Wooden skewer or pencil
- Double boiler or microwave-safe container
Step-by-Step Instructions
- Clean your teacup thoroughly and dry completely.
- Use hot glue to secure the metal base of your wick to the bottom center of the teacup.
- Melt the soy wax using a double boiler or in the microwave in 30-second intervals.
- Once melted, remove from heat and let cool for 2-3 minutes before adding 10-15 drops of essential oil.
- For a decorative touch, sprinkle a few dried flower petals into the teacup.
- Carefully pour the wax into the teacup, leaving about ¼ inch of space at the top.
- Use a wooden skewer or pencil to hold the wick upright and centered while the wax cools.
- Allow the candle to set completely for at least 24 hours before trimming the wick to ¼ inch.
Gifting Tips
Wrap your teacup candle in cellophane with a ribbon, or place it on a matching vintage saucer if available. Include a small card explaining that the vessel can be reused once the candle is gone. For an extra special touch, match the scent to your recipient’s personality, lavender for the friend who needs relaxation, citrus for the energetic one.
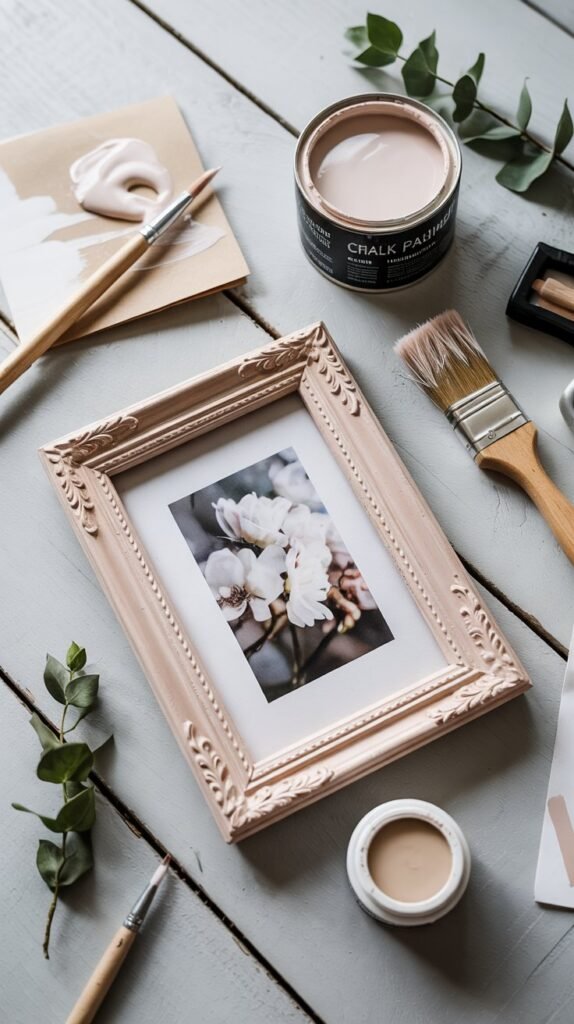
2. Vintage Frame Makeover
Thrifted Item to Look For
Search for ornate wooden frames with interesting details, even if they’re scratched or have chipped paint. Frames with good bones but outdated finishes are perfect candidates for this makeover. Don’t worry about the existing artwork, you’ll be replacing it.
Materials Needed
- Vintage wooden frame
- Chalk paint in your chosen color
- Small paintbrush
- Fine-grit sandpaper
- Clear wax or sealer
- Soft cloth for applying wax
- Personalized photo, artwork, or quote to frame
- Optional: metallic wax for highlighting details
Step-by-Step Instructions
- Remove any artwork, glass, and backing from the frame.
- Clean the frame thoroughly to remove dust and grime.
- Lightly sand the surface to help the paint adhere better.
- Apply the first coat of chalk paint, working in the direction of the wood grain.
- Let dry completely (usually 1-2 hours) before applying a second coat if needed.
- Once dry, use fine sandpaper to distress edges and details for a vintage look.
- Apply clear wax or sealer with a soft cloth to protect the finish.
- For extra dimension, apply metallic wax to the raised details of the frame.
- Reassemble the frame with your chosen artwork or photo.
Gifting Tips
Make this gift extra special by choosing a meaningful photo or creating custom artwork for the frame. Consider the recipient’s home decor style when selecting paint colors. For a family member, include a cherished family photo or handwritten recipe. For a friend, frame a quote that represents your friendship or a map showing a special location you’ve shared together.
3. Vintage Book Planter
Thrifted Item to Look For
Look for hardcover books with interesting covers or titles. Vintage encyclopedias, old dictionaries, or classic novels with damaged pages work perfectly. Choose books that are beyond reading condition but have beautiful covers or meaningful titles.
Materials Needed
- Hardcover vintage book
- Box cutter or craft knife
- Ruler and pencil
- Mod Podge or white glue
- Plastic bag or plastic container to fit inside
- Small succulent plant or air plant
- Potting soil for succulents
- Small decorative stones (optional)
Step-by-Step Instructions
- Open the book to about 20 pages in from the cover.
- Draw a rectangle on this page, leaving about 1-inch border around all edges.
- Using your box cutter, carefully cut along your drawn lines through several pages at a time.
- Continue cutting and removing pages until you’ve created a cavity deep enough for your plant.
- Mix equal parts Mod Podge and water, then brush this mixture along the inside edges of the pages to seal them together.
- Let dry completely (at least 24 hours).
- Line the cavity with a plastic bag or small container to prevent moisture damage.
- Add potting soil and plant your succulent or air plant.
- Top with small decorative stones if desired.
Gifting Tips
Choose a book that reflects the recipient’s interests or personality. For a gardener, use an old plant encyclopedia. For a literature lover, select a classic novel (just make sure it’s not a valuable edition!). Include a small care card for the plant, and consider adding a bookmark with a thoughtful message. This gift combines both decor and a living element, making it perfect for plant lovers and bookworms alike.
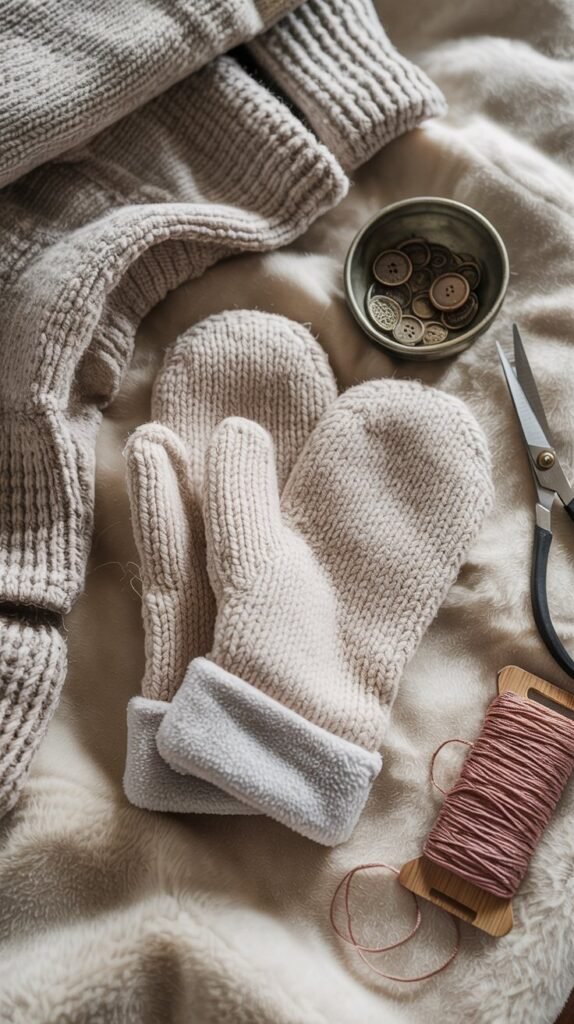
4. Cozy Upcycled Sweater Mittens
Thrifted Item to Look For
Hunt for wool or wool-blend sweaters with interesting patterns or textures. Cable knit and Fair Isle patterns make especially beautiful mittens. Look for sweaters that may have minor damage in areas you won’t use, but with intact sleeves and body. Cashmere is a luxurious option if you’re lucky enough to find it!
Materials Needed
- Wool or wool-blend sweater
- Mitten pattern (printable or traced from your hand)
- Scissors (fabric scissors preferred)
- Pins
- Sewing machine or needle and thread
- Fleece fabric for lining (optional)
- Decorative buttons or embroidery floss (optional)
- Washing machine for felting (optional)
Step-by-Step Instructions
- If your sweater is 100% wool, consider felting it first by washing in hot water and drying on high heat.
- Turn the sweater inside out and lay it flat.
- Place your pattern on the sweater, positioning it to take advantage of existing hems or patterns.
- Pin the pattern and cut out four mitten pieces (two for each hand).
- If adding a fleece lining, cut four pieces of fleece using the same pattern.
- With right sides together, pin and sew each mitten, leaving the bottom open.
- Repeat with the fleece lining if using.
- Turn the wool mittens right side out and insert the fleece lining.
- Fold the raw edges under and stitch the lining to the wool at the wrist.
- Add decorative elements like buttons or embroidery if desired.
Gifting Tips
These mittens make perfect winter gifts, especially when paired with a matching scarf or hat. Consider the recipient’s style when choosing sweaters,bold patterns for the fashion-forward friend, subtle textures for the minimalist. Include care instructions (hand wash in cold water, lay flat to dry) and wrap with a sachet of lavender for a special touch. For an extra cozy gift, tuck a packet of gourmet hot chocolate inside one of the mittens.
5. Refinished Wooden Serving Tray
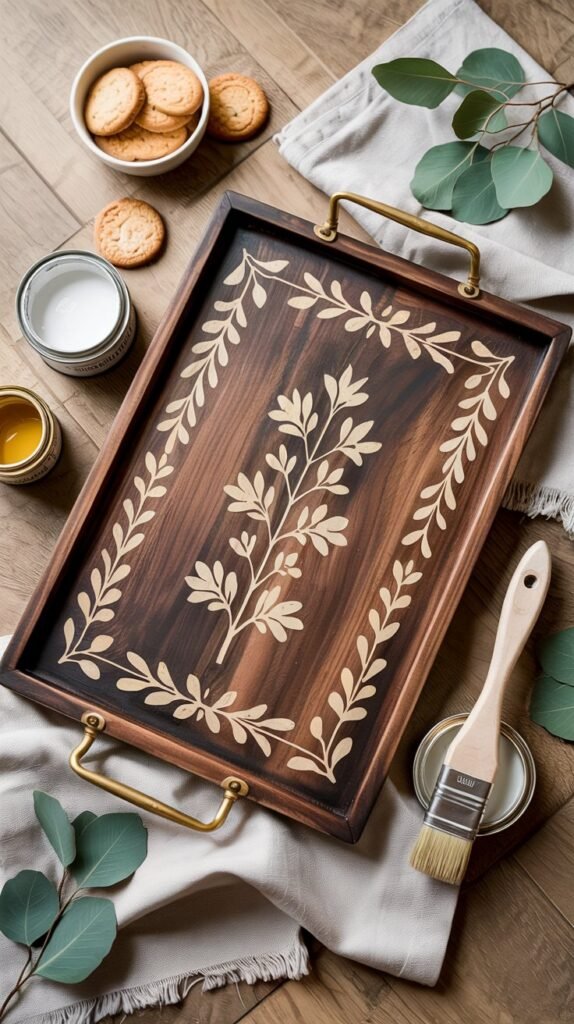
Thrifted Item to Look For
Search for wooden trays, cutting boards, or even cabinet doors that can be converted into trays. Look past scratches, stains, or outdated finishes,focus on the quality of the wood and the overall shape. Trays with handles are ideal, but you can always add new ones.
Materials Needed
- Wooden tray or flat wooden item
- Sandpaper (medium and fine grit)
- Wood stain or chalk paint
- Clear polyurethane sealer or food-safe mineral oil
- Paintbrushes and clean rags
- New handles (if needed)
- Screwdriver
- Optional: stencils and acrylic paint for designs
- Optional: decorative paper and Mod Podge for decoupage
Step-by-Step Instructions
- Remove any hardware from the tray.
- Sand the entire surface to remove old finish and smooth out scratches.
- Wipe away all dust with a damp cloth and let dry completely.
- Apply wood stain according to product directions, or paint with chalk paint.
- For a decorative touch, add a stenciled design or decoupage decorative paper to the center.
- Allow to dry completely according to product instructions.
- Apply 2-3 coats of polyurethane sealer for painted trays, or food-safe mineral oil for trays that will hold food.
- Let dry completely between coats.
- Attach new handles if needed.
Gifting Tips
Personalize the tray for your recipient, monogram it with their initial, stencil a meaningful quote, or decoupage a map of a special location. For a complete gift, fill the tray with goodies like gourmet snacks, a bottle of wine, or a selection of teas. Consider the recipient’s home decor when choosing stain colors or paint finishes. Include a small card suggesting ways to use the tray – from serving breakfast in bed to organizing coffee table items.
Give the Gift of Renewed Treasures
Creating upcycled thrifted gifts isn’t just about saving money,it’s about infusing ordinary objects with new life and meaning. Each of these projects transforms something forgotten into something treasured, carrying your creativity and thoughtfulness into every detail.
The beauty of these handcrafted gifts lies in their uniqueness. No two teacup candles or sweater mittens will ever be exactly alike, making each one a truly special offering. And beyond the joy of giving, there’s the satisfaction of knowing you’ve created something sustainable and meaningful.
Remember, the most important ingredient in any upcycled gift is the intention behind it. When you take the time to handcraft something specifically for someone, considering their tastes and preferences, you’re giving much more than just an object, you’re giving a piece of yourself.