DIY Vintage Teacup Bird Bath
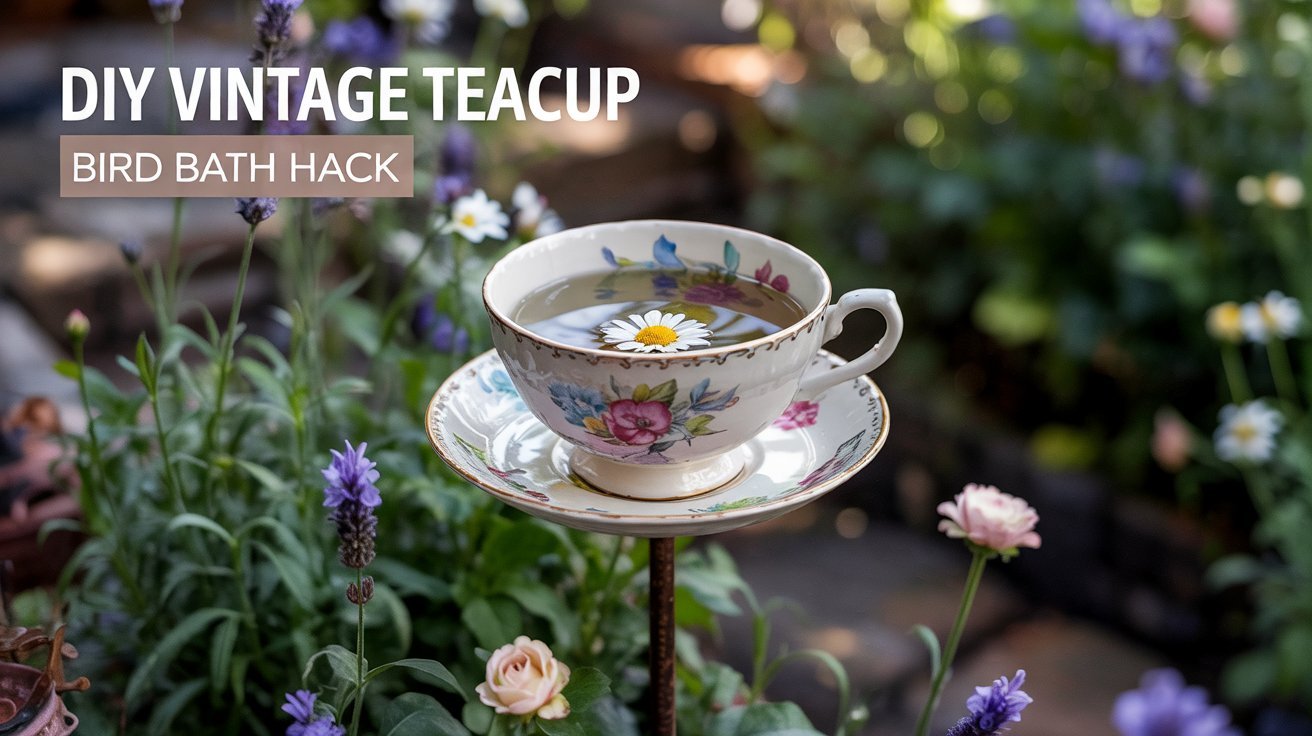
Give your garden a sweet, vintage touch with a teacup bird bath that welcomes songbirds and small wildlife, the soft clink of porcelain and a tiny splash make mornings feel like a cozy story. You’ll end up with a charming, low‑cost ornament that’s easy to place anywhere.
Materials list
- 3–4 vintage teacups
- matching saucers (thrifted is perfect)
- 1 sturdy dinner plate (ceramic or stoneware) for the base
- Waterproof adhesive (E6000 or outdoor epoxy)
- Metal rod or copper pipe, about 3 ft (or a garden stake)
- Drill and ceramic/glass drill bit (size just wider than rod)
- Outdoor clear sealant spray Sandpaper or file
- Optional: rubber washer or epoxy putty for extra stability
Steps 1 Prep your pieces
- Clean all teacups, saucers and the base plate with soapy water. Rinse and let dry fully.
- Lightly sand any glazed rims where the adhesive will go so glue grabs better.
- Arrange pieces on the ground in the order you like, largest at the bottom, smallest at the top, to test balance and look.
2 Secure the base to the rod
- Mark the center of the dinner plate. Using the ceramic drill bit, carefully drill a small hole through the plate (go slow, keep the drill bit and plate cool with water if your drill instructions allow).
- Slide the metal rod through the hole. Add a rubber washer or a dab of epoxy putty underneath to help steady the plate if needed.
- Push the rod at least 8–10 inches into the soil where you’ll place the bird bath, or set the base on a sturdy stand if you prefer not to insert into soil.
3 Stack and glue the teacups and saucers
- Start gluing from the bottom up: put adhesive between the bottom saucer and the next teacup, following the adhesive manufacturer’s directions.
- Press pieces firmly together and wipe away any squeeze‑out promptly with a disposable cloth.
- Continue stacking and gluing until the top teacup is secured. Allow the adhesive to cure fully (follow manufacturer guidance, often 24–72 hours).
4 Weatherproof, finish, and place
- Spray the assembled bird bath lightly with a clear outdoor sealant for extra protection.
- Place the finished bird bath in a shady or partly shady spot near shrubs or perches so birds feel safe.
- Fill the top cup with fresh water. Top up daily in warm weather and clean the cup weekly to avoid algae.
Time & cost
- Time: about 30–45 minutes active work, plus adhesive curing time (24–72 hours).
- Cost: roughly $10–$25 using thrifted finds and basic supplies.
SAFETY TIP: Wear safety goggles and gloves when drilling and handling strong adhesives; work outdoors or in a well‑ventilated area.
Do: Use sturdy, chip‑free dishes, fragile pieces can crack and leak.
Do: Test the stack for balance before gluing to avoid wobbly results.
Don’t: Skip using a ceramic drill bit or go too fast when drilling, porcelain can crack.
Don’t: Use indoor glue, pick an adhesive rated for outdoor/wet use.
Care & seasonal tips
- Refill water daily in hot weather and change it every few days to keep birds healthy.
- Clean the cup with mild soap and rinse weekly to prevent algae build‑up.
- Reapply clear sealant once a year for best weather protection. Store delicate pieces indoors over harsh winters.
Give this vintage teacup bird bath a try this weekend, it’s quick, thrift‑friendly, and such a joyful little addition. Snap a photo of your finished piece and share it with friends!
If you like this article, you’ll love 25 DIY Garden Ornaments Ideas to Add Charm to Your Backyard