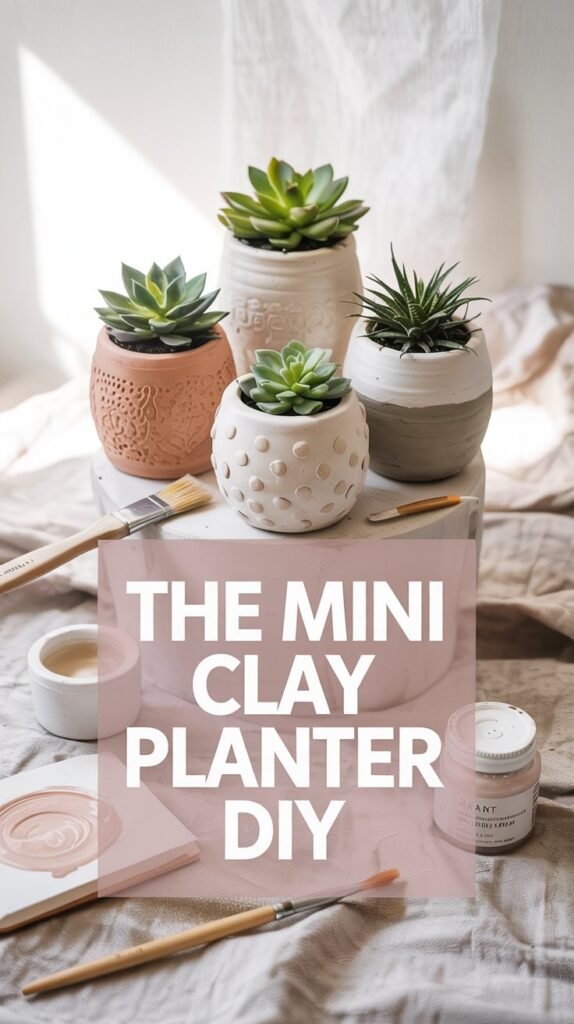
Mini Clay Planters You Can Make at Home
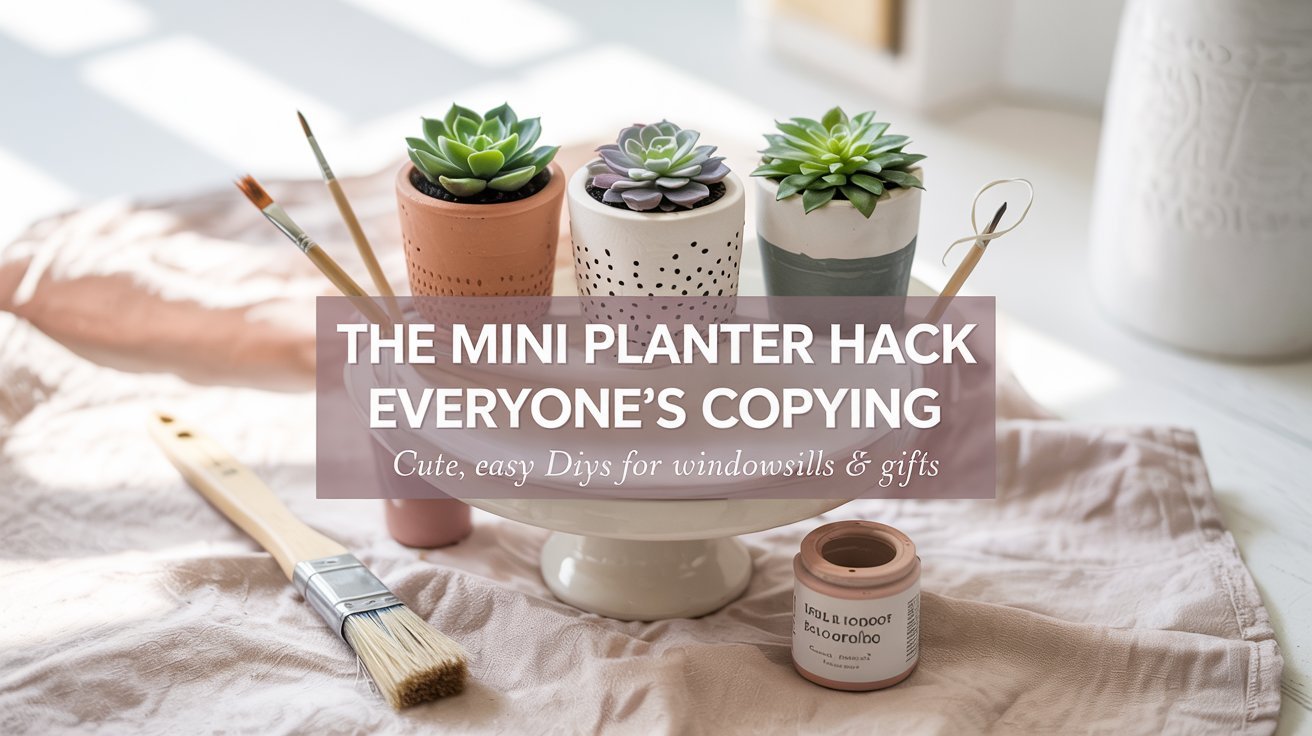
There’s something magical about creating with your hands. Mini clay planters bring that joy into your space with their charming presence and personal touch. These tiny vessels are perfect for windowsills, desks, and shelves where space is precious but you still crave that touch of green. They make heartfelt gifts too, carrying your creative energy right into someone else’s home.
The best part? You don’t need fancy equipment or years of pottery experience. With just some air-dry clay and a few simple tools you likely already have, you can craft these sweet little containers in an afternoon. Let’s create something special together that brings warmth to your space and lets your creativity bloom.
Yump To
- Materials You’ll Need
- Step 1: Shape Your Mini Planter
- Step 2: Smooth & Refine Your Planter
- Step 3: Let It Dry Properly
- Step 4: Sand for a Clean Finish
- Step 5: Paint & Seal Your Planters
- Step 6: Add Plants to Your Creation
- Common Beginner Mistakes to Avoid
- Styling & Gift Ideas
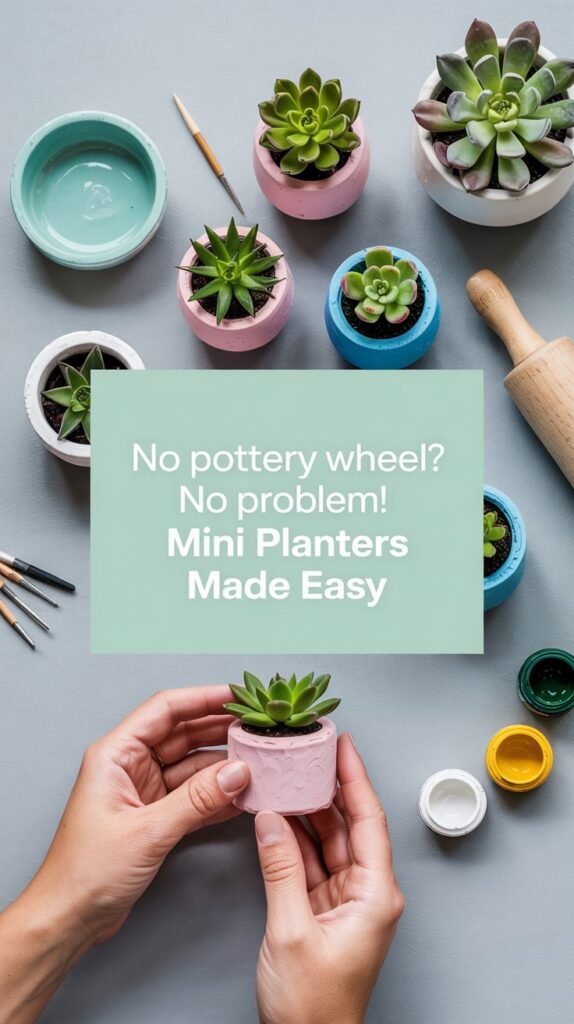
Materials You’ll Need
Gathering your supplies is the first step toward creating your own mini clay planters. The beauty of this project is that it requires minimal materials and most can be found around your home.
- Air-dry clay (white or terracotta-colored works beautifully)
- Small bowl, cup, or jar to use as a mold
- Craft knife or toothpick for detailing
- Fine-grit sandpaper (220 grit or higher)
- Acrylic paint in your favorite colors
- Clay sealer or clear acrylic spray
- Small paintbrushes
- Rolling pin or smooth glass bottle
Pro Tip: Keep a small bowl of water nearby for smoothing cracks and joining pieces. The water acts as a natural slip, helping clay pieces bond together and creating a smoother finish.
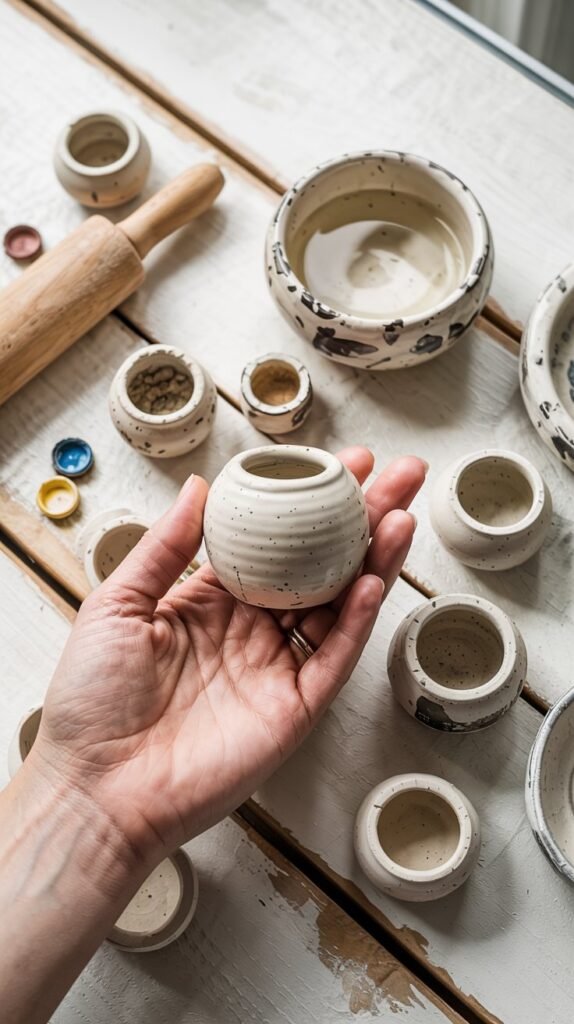
Step 1: Shape Your Mini Planter

Getting Started
Begin by kneading your air-dry clay until it feels soft and pliable in your hands. This warming and working process helps remove air bubbles and makes the clay more cooperative. Take your time with this step,well-conditioned clay is much easier to shape.
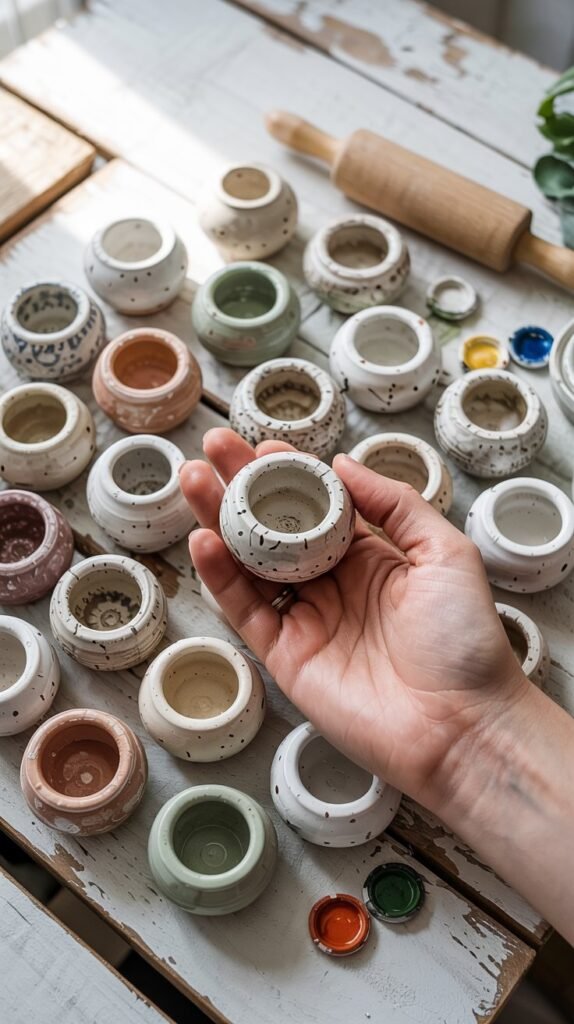
Once your clay feels smooth and workable, break off a piece about the size of a golf ball. Roll it between your palms until you have a nice, even sphere. The size can vary based on how small you want your planter to be, but starting with something you can comfortably hold is ideal for beginners.
Creating the Hollow
Now comes the fun part! Press your thumb gently into the center of your clay ball, creating a small depression. Slowly work your way around, pressing and pinching the sides to create a hollow center. As you pinch, rotate the clay to ensure even thickness throughout.
If you prefer a more uniform shape, you can use a small bowl or cup as a mold. Press your clay into the mold, trimming any excess from the top with a craft knife. Gently remove your clay from the mold once it has taken shape.
Pro Tip: Make the base of your planter slightly thicker than the sides to prevent cracking. Aim for walls about 1/4 inch thick, thin enough to look delicate but thick enough to maintain structural integrity.
Step 2: Smooth & Refine Your Planter
Now that you have the basic shape of your planter, it’s time to refine it. This step transforms your piece from good to gorgeous, giving it that handcrafted but polished look.
Smoothing the Surface
Dip your fingers in your water bowl and gently run them over the surface of your clay. The water helps smooth out fingerprints and rough patches. Work slowly and methodically, focusing on one section at a time. For those hard-to-reach spots, a damp sponge can work wonders.
Shaping the Rim
The rim of your planter deserves special attention as it’s often the most noticeable part. You can leave it natural for an organic look, or use your fingers to create a more defined edge. For a perfectly even rim, place your planter upside down on a flat surface and gently press down.
Adding Texture
This is where your personality can shine! Use a toothpick, the back of a spoon, or even household items like bottle caps to create patterns and textures. Simple dots, lines, or geometric patterns work beautifully. Remember that less is often more,subtle textures can be quite elegant.
Pro Tip: Work slowly, air-dry clay starts firming up quickly. If you notice the clay becoming less pliable as you work, dampen your fingers again and continue. This helps maintain workability while you perfect your design.
Step 3: Let It Dry Properly
Patience becomes your greatest ally during the drying phase. Proper drying ensures your mini planters will be durable and crack-free, ready for their colorful transformation.
Finding the Perfect Spot
Place your freshly shaped planters in a dry, room-temperature location away from direct sunlight or heat sources. A bookshelf or tabletop works perfectly. Avoid the temptation to speed up drying with a hairdryer or oven,this almost always leads to cracks.
The ideal drying time for air-dry clay mini planters is 24-48 hours, depending on the thickness of your clay and the humidity in your environment. You’ll know they’re ready when they feel completely firm and have changed to a lighter color throughout.
The Flip Technique
About halfway through the drying process, gently flip your planters upside down. This allows air to circulate to the bottom and inside, ensuring even drying throughout. This simple step helps prevent warping and ensures your planters will sit flat when finished.
Pro Tip: Drying too fast causes cracks. If you live in a very dry climate or during winter when heating systems are running, consider covering your pieces loosely with plastic wrap for the first few hours to slow the initial drying process.
Step 4: Sand for a Clean Finish
Once your planters are completely dry, they might feel a bit rough to the touch. Sanding transforms them from rustic to refined, creating the perfect canvas for your creative finishing touches.
Gentle Sanding Technique
Using fine-grit sandpaper (220 grit or higher), lightly sand the surface of your planters with small, circular motions. Focus on any rough spots, uneven edges, or fingerprints that may have dried into the clay. The goal isn’t to reshape your planter but to smooth out imperfections.
Pay special attention to the rim and any textured areas you created. These often benefit from a light touch to soften any sharp edges while maintaining the intentional design elements.
Dust Removal
After sanding, you’ll notice a fine dust has formed. Use a soft, dry paintbrush to gently remove this dust from all surfaces. For a thorough cleaning, you can also wipe your planters with a slightly damp cloth, but be sure they’re completely dry again before moving on to painting.
Pro Tip: Fine-grit sandpaper gives a professional look. Start with a higher grit (like 220) and move to an even finer grit (like 320 or 400) for an ultra-smooth finish. This creates a surface that will take paint beautifully.
Step 5: Paint & Seal Your Planters
This is where your mini planters truly come to life! The painting stage lets you express your creativity and coordinate your planters with your home decor or gift recipient’s taste.
Choosing Your Colors
Acrylic paints work beautifully on air-dry clay and come in endless color options. Consider earthy tones like terracotta, sage green, or soft blue for a natural look. For something more modern, try color blocking with geometric patterns or dipping just the bottom half in a bold hue.
PRO TIP: Before committing to a full design, test your colors on the bottom of your planter to see how they look when dry. Clay often absorbs the first coat, making colors appear lighter or more matte than expected.

Sealing for Longevity
Once your paint has completely dried (usually 24 hours is sufficient), it’s time to seal your creation. A clear acrylic sealer or mod podge provides protection and gives your planters a finished look. You can choose matte, satin, or glossy finishes depending on your preference.
Apply the sealer with a soft brush in thin, even coats. Two to three coats are typically sufficient, allowing each to dry completely before applying the next. This step is crucial for protecting your design and adding some water resistance to your planters.
Pro Tip: Apply thin coats for the best finish. Thick layers of paint or sealer can crack or peel over time. Multiple thin layers will give you a more professional and durable result that showcases your beautiful handiwork.
Step 6: Add Plants to Your Creation
The final step brings your mini clay planters to life with the perfect green companions. Choosing the right plants and understanding how to use your handmade planters will ensure both thrive together.
Best Plants for Mini Planters
Small succulents are ideal companions for your mini clay planters. They require minimal water and come in fascinating varieties that stay naturally petite. Air plants are another excellent choice as they don’t need soil at all, just place them directly in your planter and mist occasionally.
For a zero-maintenance option, high-quality faux succulents or tiny silk plants can look surprisingly realistic in your handcrafted planters. This is especially practical if you’re giving your creations as gifts or placing them in low-light areas.
Drainage Considerations
Since air-dry clay isn’t completely waterproof, it’s best to use your handmade planters as decorative covers rather than direct planting containers. Keep your plants in their plastic nursery pots and simply place them inside your clay planters. This makes watering easier and protects your beautiful handiwork.
If you do want to plant directly in your clay planters, add a layer of small pebbles at the bottom for drainage and be very careful not to overwater. A gentle misting or just a tablespoon of water is often sufficient for small plants in mini containers.
Pro Tip: Air-dry clay planters work best as decorative covers. For the longest life of both your plants and planters, keep plants in their plastic nursery pots and simply nestle them inside your beautiful handmade creations.
Common Beginner Mistakes to Avoid
What Works
- Taking time to properly condition clay before shaping
- Creating walls with even thickness (about 1/4 inch)
- Allowing planters to dry slowly and completely
- Applying multiple thin coats of sealer
- Using planters as decorative covers for plastic pots
What Doesn’t Work
- Making walls too thin (leads to cracks and breakage)
- Rushing the drying process with heat
- Skipping the sealing step (causes paint to chip)
- Over-watering plants directly in clay planters
- Using outdoor or harsh cleaning products on finished planters
Learning from these common pitfalls will help you create beautiful, lasting mini clay planters on your very first try. Remember that each “mistake” is actually a learning opportunity that makes your next creation even better!
Styling & Gift Ideas
Your handcrafted mini clay planters deserve to be showcased beautifully. Here are some inspiring ways to display them in your home or prepare them as heartfelt gifts.
Home Styling Ideas
Desk Companions
Place a trio of mini planters near your workspace to bring nature’s calming presence to your productive hours. The small size means they won’t take up precious desk real estate.
Windowsill Gardens
Line up several mini planters along a sunny windowsill for a charming indoor garden that catches the light beautifully. Mix heights and colors for visual interest.
Shelf Styling
Incorporate your mini planters into shelf displays by nestling them among books and treasured objects. They add organic texture and life to any vignette.
Thoughtful Gift Presentations
Mini clay planters make heartfelt gifts that continue to bring joy long after they’re given. Create a set of three in coordinating colors for a housewarming gift, or personalize one with the recipient’s initials or favorite colors for birthdays and holidays.
For an extra special touch, include a small care card with instructions for the plant and a note about how you handcrafted the planter especially for them. This personal connection makes your gift all the more meaningful.
Ready to Create Your Own Mini Clay Planters?
There’s something deeply satisfying about creating with your hands and bringing a bit more nature into your home. These mini clay planters are the perfect weekend project,simple enough for beginners yet endlessly customizable for more experienced crafters.
Remember that each little planter carries your unique creative energy. The slight imperfections and handmade qualities aren’t flaws, they’re what make your creations special and one-of-a-kind. Embrace the process and enjoy watching your tiny garden grow!