How to Make a Glass Beaded Plant
JUMP TO
- Materials You’ll Need
- Preparing Your Workspace
- Preparing the Pot
- Creating the Beaded Stems
- Shaping Your Plant
- Assembling Your Arrangement
- Finishing Touches
- Creative Variations
- Advanced Techniques
- Care and Maintenance
- Designer Styling Tip
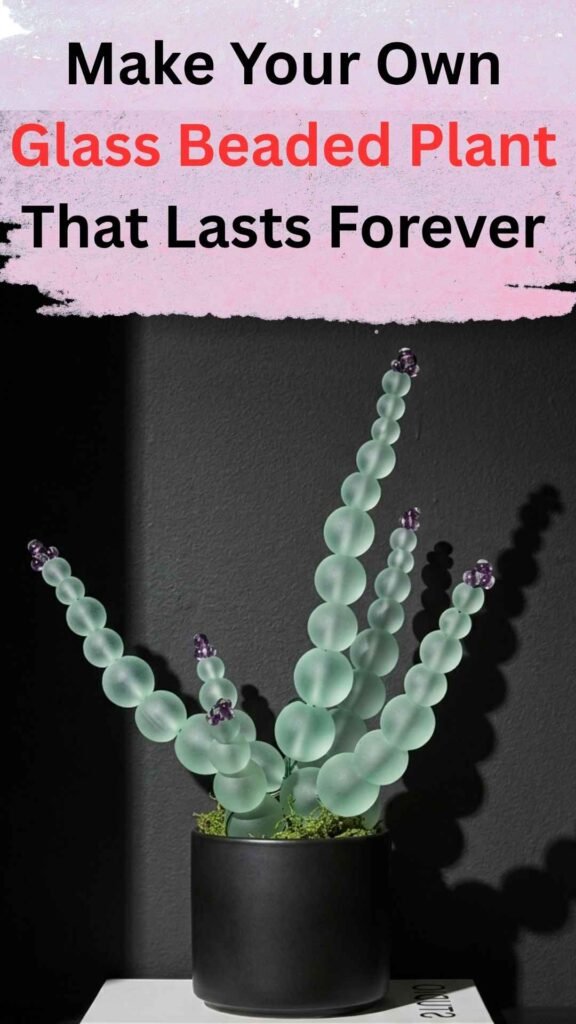
Imagine a plant that never fades, never wilts, and catches the light like fine jewelry.
Glass beaded plants are where botanical beauty meets delicate craftsmanship. They’re sculptural, luminous, and endlessly customizable.
Whether styled on a bookshelf, bedside table, or desk, they add a refined shimmer that feels intentional and artful.
This step-by-step guide will walk you through creating your own beaded botanical. A handcrafted piece that brings lasting elegance into your space.
Why You’ll Love This Projects

- No watering, sunlight, or maintenance required
- Completely customizable in color and style
- Elegant handmade decor that lasts for years
- Perfect for gifting or styling small spaces
Skill Level: Beginner to Intermediate
Time Required: 1–2 hours
Whether you struggle with keeping real plants alive or simply want a craft project that yields beautiful results, this forever plant is your answer.
Materials You’ll Need

Beads
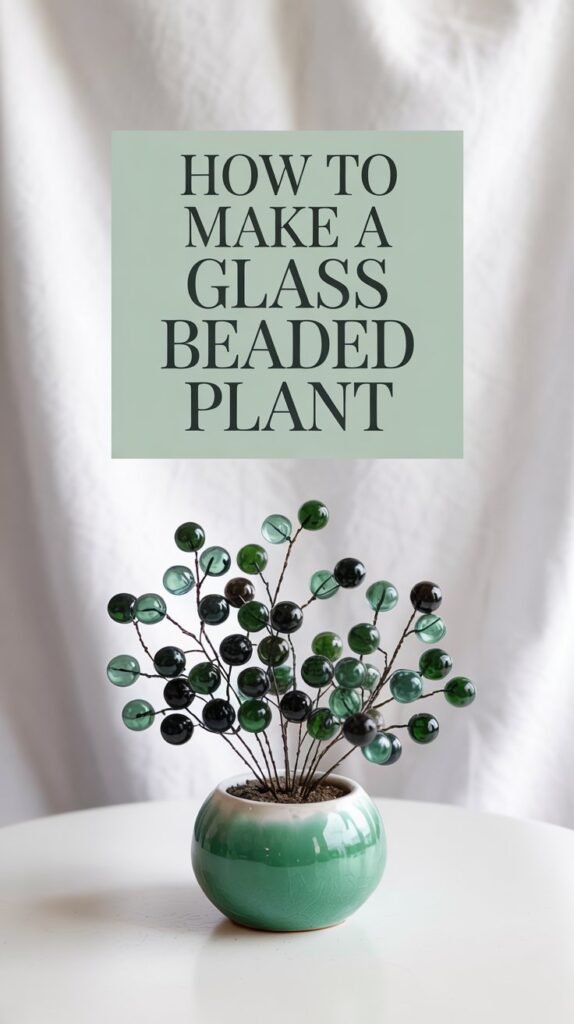
Layered shades of green in matte, glossy, translucent, or glass finishes work beautifully. Mix sizes and textures for depth.
Consider subtle accents in blush, ivory, or soft blue for variation. Quality glass beads create the most luminous effect.
Wire
Use 24–26 gauge jewelry wire in green, silver, or gold. It should be flexible enough to shape yet sturdy enough to hold structure.
Green craft wire blends naturally with botanical designs.
Tools
- Wire cutters
- Round-nose pliers
- Flat-nose pliers
Base
- Small ceramic or stone pot (3–4 inches)
- Floral foam
Finishing Details (Optional)
- Brown acrylic paint
- Small paintbrush
- Decorative moss, pebbles, or sand
Pro Tip: Choose beads with holes large enough to thread smoothly. Slight variations in bead shape and tone create a more natural, organic look.
Preparing Your Workspace

Set up in a well-lit area where small beads won’t easily roll away.
A towel or bead mat works beautifully to keep materials contained. Arrange your tools within reach and keep a small dish nearby for scraps.
A calm, organized setup makes the creative process far more enjoyable. Good lighting helps you see bead colors accurately.
Preparing the Pot
A strong foundation ensures your finished piece feels stable and refined.
Step 1: Cut the Foam
Cut floral foam to fit snugly inside your pot. It should sit just below the rim.
Step 2: Paint the Foam
Lightly paint the top of the foam with brown acrylic paint to mimic soil. Allow it to dry fully.
Step 3: Secure the Base
Insert the foam firmly into the pot. Add small scraps of foam around the edges if needed for stability.
Once finished, the base should feel secure and visually clean. This foundation will anchor all your beaded stems.
Creating the Beaded Stems
Step 1: Cut Your Wire
Cut wire lengths between 10–14 inches. Longer pieces create taller, sculptural stems.
Shorter pieces produce compact, lush arrangements. Vary your lengths for visual interest.
Step 2: Create an Anchor Loop
Using round-nose pliers, form a small loop at one end of the wire. This prevents beads from slipping off.
Make the loop tight and secure. This small detail ensures your beads stay in place.
Step 3: Thread the Beads
Slide beads onto the wire, mixing shades and sizes for natural variation.
Leave about 2–3 inches of bare wire at the bottom for inserting into the foam. The beauty lies in subtle imperfection.
Avoid strict uniformity. Real plants have organic variation in their leaves.

Step 4: Secure the Top
Once beaded, bend the wire slightly back through the final bead and pull gently to secure.
Trim excess wire if needed. This creates a clean finish at the top of each stem.
Repeat this process to create at least 20–30 stems for a full, balanced look. More stems create a lusher plant.
Shaping Your Plant
Straight Stems
Clean and modern. Ideal for minimalist styling.
Keep these stems upright with minimal bending. They create vertical interest and structure.
Soft Curves
Gently bend the beaded section to mimic natural plant movement.
These add grace and flow to your arrangement. Use your fingers to create gentle arcs.
Looped Leaves
Form a loop mid-wire and twist gently to secure, creating a leaf-like shape.
These add dimension and visual interest. They catch light beautifully from multiple angles.
Spirals
Wrap the beaded wire around a pencil for trailing, sculptural designs.
These create dramatic cascading effects. Perfect for stems that will hang over the pot edge.
Varying heights and shapes creates depth and dimension. Mix all four techniques in a single piece.
Assembling Your Arrangement
Building Your Structure
Insert your tallest stems in the center of the foam. These create your focal point.
Add medium stems around them, angling slightly outward. This builds volume and fullness.
Fill the edges with shorter or curved stems, allowing some to cascade naturally. These frame the arrangement.

Step back occasionally to assess balance and symmetry. View from multiple angles.
If any stem feels loose, remove it, add a small dab of hot glue, and reinsert. Stability matters.
Finishing Touches

To elevate the final presentation, add thoughtful finishing details.
Cover the Base
Cover exposed foam with moss, pebbles, or sand. This creates a polished, professional look.
Press moss gently into place. It should look natural, not forced.
Adjust the Silhouette
Adjust curves and spacing for a natural silhouette. Bend stems where needed.
Create an organic, flowing shape. No two beaded plants should look identical.
Test Stability
Ensure stability by gently testing the arrangement. Wiggle the pot slightly.
All stems should feel secure. Add glue to any loose pieces.
These final details transform the piece from craft to decor. Take your time with this stage.
Creative Variations
Beaded Succulent
Cluster short looped stems in a tight rosette formation.
Blend greens with subtle hints of lavender or blue-gray for a sculptural look. Use rounder beads for authenticity.
Place in a mini terra cotta pot for desert-inspired styling.
String of Pearls
Use evenly spaced round beads on long spiraled stems.
Allow them to trail gracefully over the edge of the pot. This mimics the popular houseplant.
Choose uniform bead sizes for the characteristic pearl effect.
Flowering Botanical
Add blush, ivory, or soft coral beads to selected tips for a blooming effect.
Mix with green stems to create contrast. Small flower beads work beautifully here.
This variation adds romance and softness to your arrangement.
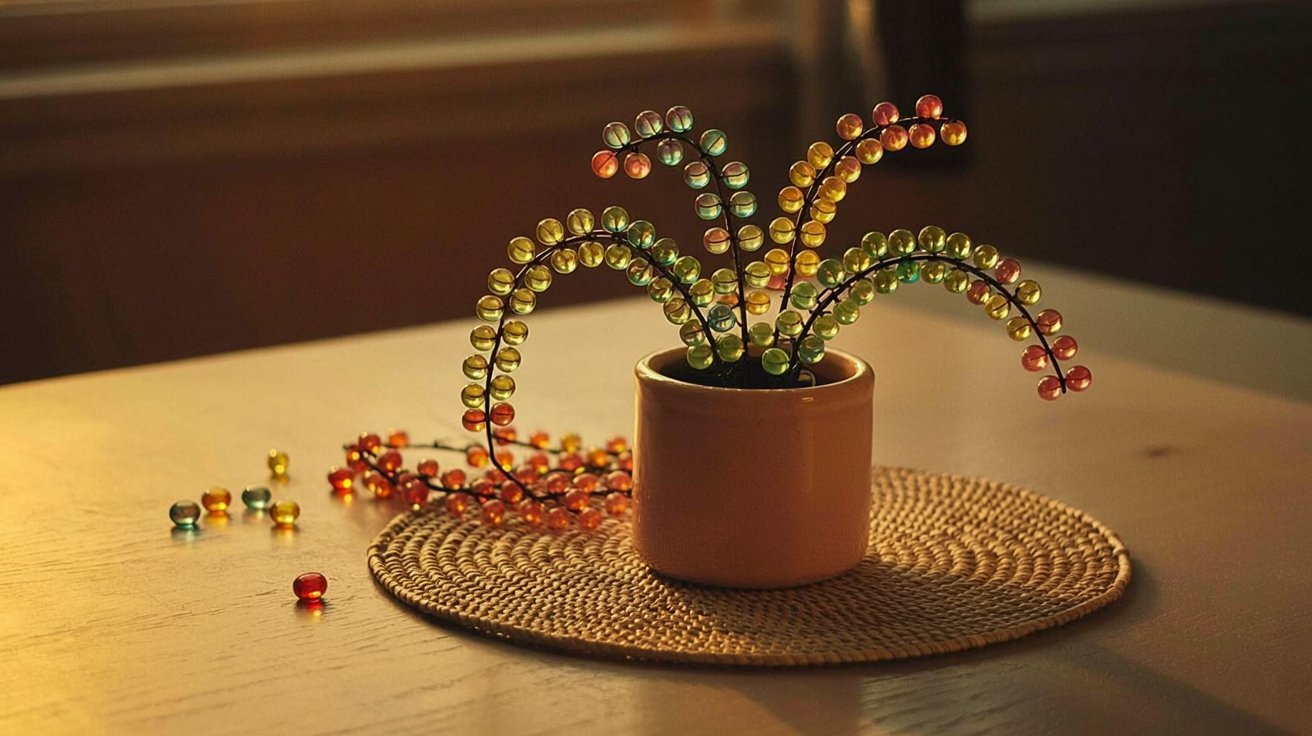
Seasonal Editions
Use deep reds and forest greens for winter holiday displays.
Try pastels for spring arrangements. Warm amber tones work for autumn.
The possibilities are endless. Let color and texture guide your creativity.
Wire Wrapping
Wrap thin wire around sections for added texture and detail.
This creates visual interest along the stem. Use contrasting wire colors for subtle effect.
Branching Stems
Twist two beaded wires together at the base to create Y-shaped branches.
This adds realism and complexity. Branch at different heights for natural variation.
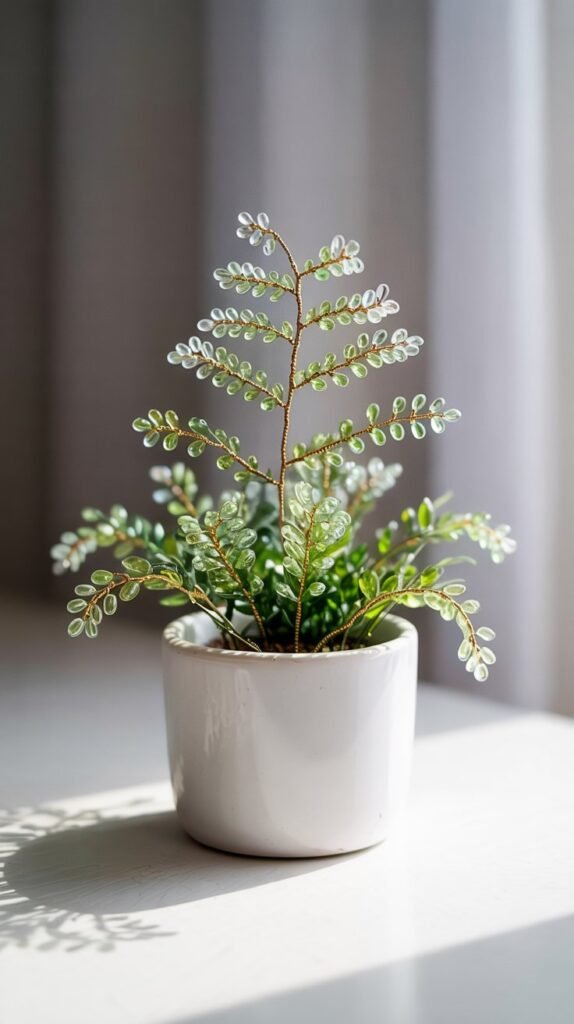
Layered Leaves
Stack multiple loops to create fuller foliage and dimension.
Three small loops together create one large leaf. This technique adds impressive fullness.
Mixed Media
Incorporate fabric leaves, ribbon, or metallic accents for a contemporary touch.
Combine materials thoughtfully. The beads should remain your focal point.
If your arrangement feels sparse, simply add more stems. Fullness is key to a polished look.
Displaying Your Beaded Plan
One of the most beautiful aspects of beaded botanicals is their versatility.
They thrive where real plants cannot. No sunlight requirements mean endless placement options.
Perfect Placements
- Windowsills (transparent beads catch light beautifully)
- Bookshelves
- Office desks
- Bathroom counters
- Bedside tables
Position near natural light to allow subtle shimmer throughout the day.
Glass beads create prism effects when sunlight hits them. This adds magical sparkle to any space.
Care and Maintenance
While they require no watering, a little care keeps them pristine.
Regular Maintenance
- Dust gently with a soft brush
- Reshape stems as needed
- Reinforce loose stems with glue
- Replace damaged stems if necessary
With minimal upkeep, your botanical will remain luminous for years.
The wire holds its shape indefinitely. Beads never fade or lose their color.
This makes beaded plants a truly forever piece of decor.
Designer Styling Tip
For a refined look, pair your beaded plant with complementary elements.
Perfect Pairings
- Neutral ceramics
- Linen textures
- Warm wood tones
- Brushed brass accents
Keep surrounding surfaces mostly clear to let your handmade piece stand out.
The shimmer of the beads becomes a focal point. Less is more with this type of decor.
Choose a pot color that complements your room palette. White and terra cotta are timeless choices.

A beaded plant is more than a craft. It’s a sculptural accent that blends artistry with nature. Once you understand the technique, you can create an entire collection of luminous botanicals tailored to your home. Each piece reflects your creative choices. The colors you select, the shapes you form, the way you arrange stems. This personal touch makes every beaded plant unique. No two will ever be exactly alike.
Handmade. Timeless. Maintenance-free. A small piece of permanent beauty, crafted by you. The time you invest in creating becomes time you don’t spend maintaining. Forever plants live up to their name.
Whether you make one for yourself or create several as gifts, these beaded botanicals bring lasting joy. They catch the light. They start conversations. They remind you of the time you took to make something beautiful with your hands.
That’s the true magic of this craft. Not just the finished piece, but the making itself.