6 Creative Glow-in-the-Dark Mason Jar Lanterns You Can Make Tonight
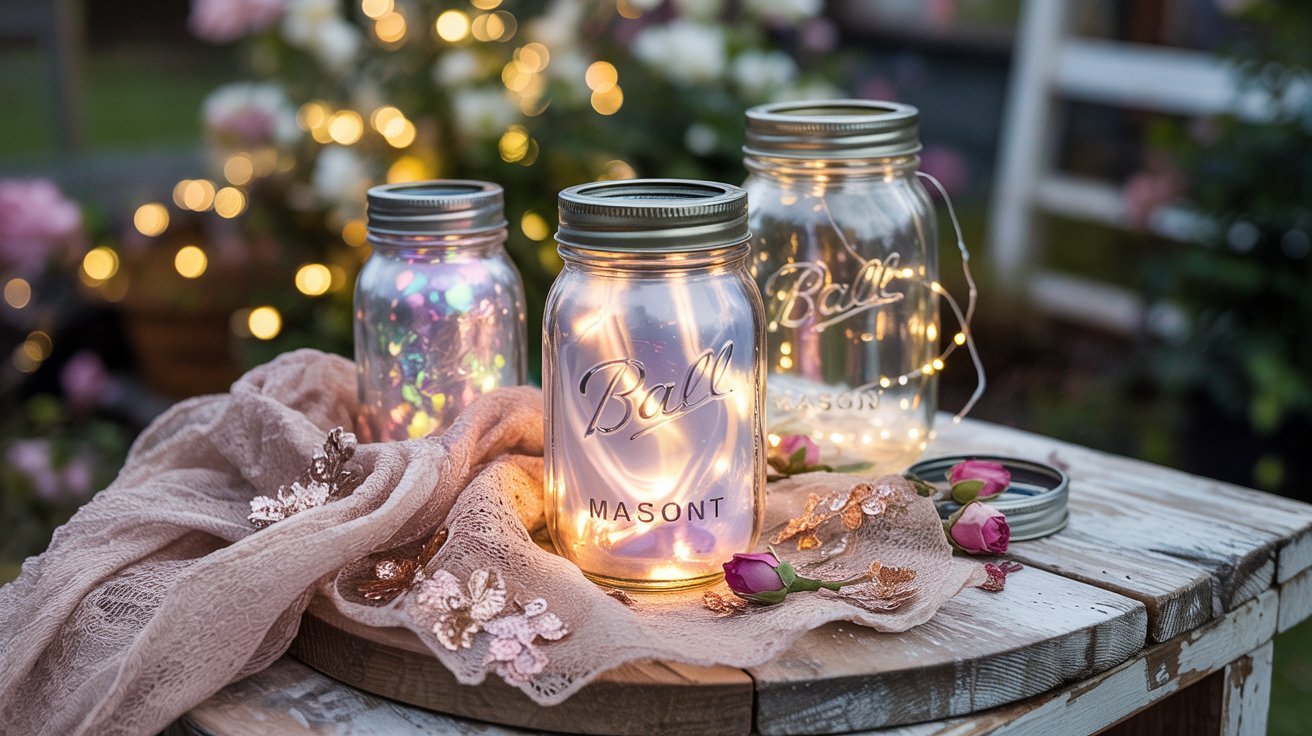
Transform ordinary mason jars into enchanting glow-in-the-dark lanterns that cast a magical ambiance in any space. These DIY mason jar lanterns are perfect for adding a touch of wonder to summer gatherings, children’s bedrooms, or as unique decorations for special events. The best part? You can create these glowing masterpieces using simple materials and techniques that work for crafters of all skill levels.
Essential Materials for Glow-in-the-Dark Mason Jar Lanterns
Before diving into the specific techniques, gather these basic supplies that you’ll need for most of the projects:
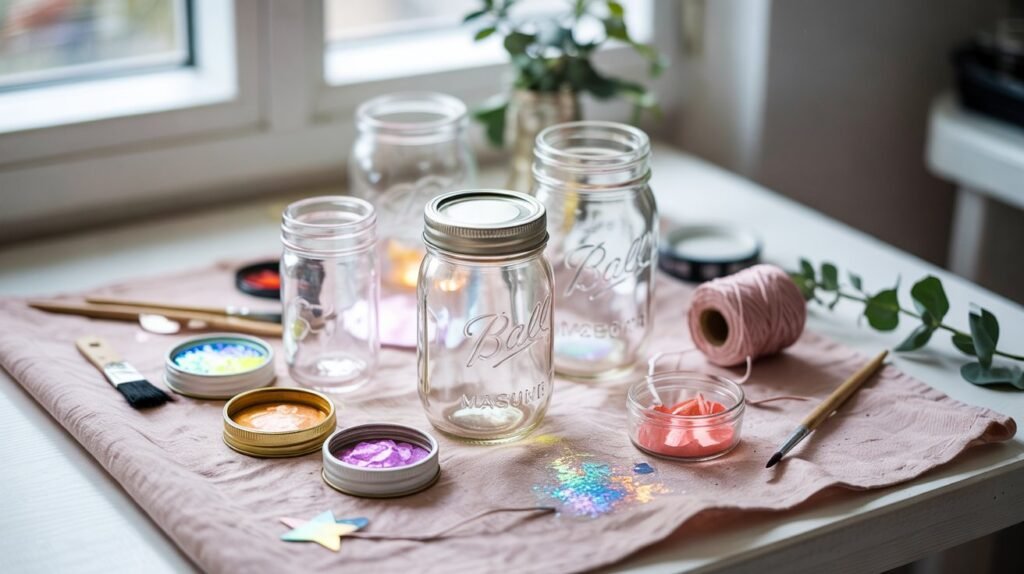
Basic Supplies
- Clean glass mason jars (various sizes)
- Rubbing alcohol for cleaning jars
- Paper towels
- Newspaper or drop cloth
- Rubber or latex gloves
- Scissors or craft knife
Optional Decorative Elements
- Fine glitter (regular or glow-in-the-dark)
- Decorative ribbon or twine
- Black permanent markers
- Stencils for designs
- Decorative lids or jar toppers
Safety First: Some materials like glow sticks contain chemicals that can irritate skin and eyes. Always wear gloves when handling these materials and work in a well-ventilated area. Keep all materials away from small children and pets.
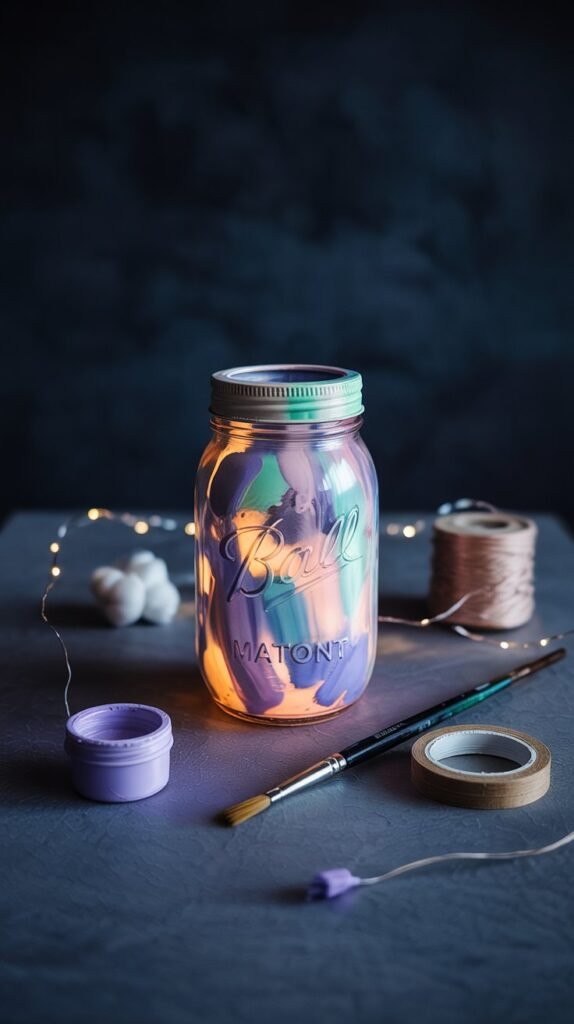
1. Glow Paint Designs
This method creates long-lasting lanterns that can be recharged repeatedly under light.
Materials Needed:
- Clean mason jar
- Glow-in-the-dark acrylic paint
- Paintbrushes (various sizes)
- Rubbing alcohol
- Cotton balls
Recommended Products:
- DecoArt Glow-in-the-Dark Paint
- FolkArt Glow-in-the-Dark Paint
- Tulip Dimensional Glow Fabric Paint
Step-by-Step Instructions:
- Wash the jar thoroughly with soap and warm water, then dry completely.
- Wipe the inside of the jar with rubbing alcohol using a cotton ball to remove any residue.
- Add a few squirts of glow-in-the-dark paint inside the jar.
- Close the lid and shake the jar to coat the inside evenly. You can also tilt and rotate the jar to spread the paint.
- Pour excess paint back into the bottle to avoid waste and help the paint dry faster.
- Let the paint dry completely (about 2 hours).
- For a more intense glow, add 1-2 additional coats, allowing each to dry completely.
- Charge your jar by placing it under bright light for at least 15 minutes before use.
Pro Tip: Create patterns by applying painter’s tape to the outside of the jar before painting the inside. The taped areas will remain clear, creating beautiful designs when the jar glows.
2. Glow Powder Mixed with Mod Podge
This technique creates a powerful glow effect that can be customized with different colors of glow powder.
Materials Needed:
- Clean mason jar
- Mod Podge (matte or glossy)
- Glow-in-the-dark powder
- Small mixing container
- Foam brush or paintbrush
Recommended Products:
- Techno Glow Powder (various colors)
- Art ‘N Glow Powder
- Mod Podge Matte Finish
Step-by-Step Instructions:
- Clean the jar thoroughly and ensure it’s completely dry.
- In a small container, mix 2 tablespoons of Mod Podge with 1-2 teaspoons of glow powder until well combined.
- Using a foam brush, apply the mixture to the inside of the jar in an even layer.
- For a patterned effect, use a paintbrush to create designs or swirls.
- Allow to dry completely (approximately 24 hours).
- For a stronger glow, apply a second coat after the first has dried.
- Charge under bright light for 30 minutes before use.
3. Glow Stick Lanterns
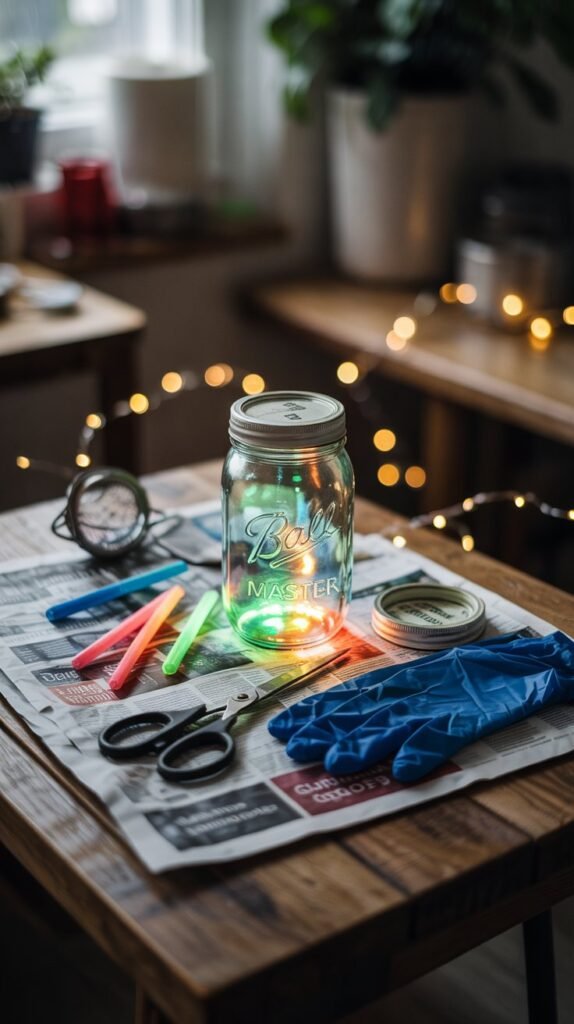
This method creates the brightest immediate glow but is temporary, lasting only 4-24 hours depending on the glow sticks used.
Materials Needed:
- Clean mason jar with lid
- Glow sticks (1 large or 2-3 bracelet size)
- Craft knife or scissors
- Rubber gloves
- Newspaper to protect work surface
- Small strainer (optional)
Recommended Products:
- Industrial Grade Glow Sticks (longer lasting)
- Multi-color Glow Stick Pack
- Premium 8-Hour Glow Sticks
Step-by-Step Instructions:
- Cover your work surface with newspaper.
- Put on rubber gloves to protect your hands.
- Activate the glow stick by bending it until you hear the inner glass tube snap.
- Shake the glow stick to mix the chemicals and ensure it’s glowing brightly.
- Carefully cut one end of the glow stick with scissors or a craft knife.
- Pour the glowing liquid into the mason jar. If using a strainer, this will catch any glass shards.
- Seal the jar tightly with the lid.
- Shake the jar to coat the inside walls with the glowing liquid.
Important Safety Note: This method should only be done by adults. The liquid inside glow sticks can irritate skin and eyes, and the sticks contain small glass tubes that shatter when activated. Always wear gloves and work carefully. Keep away from children and pets.
Creative Idea: Draw faces on the outside of the jar with a black permanent marker before adding the glow stick liquid to create spooky Halloween lanterns or fun character designs.
4. Solar-Powered Glow Jars
These eco-friendly lanterns recharge during the day and automatically light up at night, perfect for outdoor settings.
Materials Needed:
- Clean mason jar
- Solar-powered mason jar lid or solar garden light
- Frosted glass spray (optional)
- Decorative elements (optional)
Recommended Products:
- Solar Mason Jar Lid Inserts
- Hanging Solar Mason Jar Lid with String Lights
- Rust-Oleum Frosted Glass Spray
Step-by-Step Instructions:
- Clean and dry your mason jar thoroughly.
- If desired, spray the outside of the jar with frosted glass spray for a softer glow effect. Allow to dry completely.
- If using a solar garden light, disassemble it to remove the solar panel and light component.
- Attach the solar panel to the mason jar lid (you may need to cut a hole or use strong adhesive).
- Place the light component inside the jar.
- Secure the lid on the jar.
- Place in direct sunlight during the day to charge.
- The jar will automatically light up when darkness falls.
5. LED-Based Glow Jars
LED lights provide reliable, long-lasting illumination and can be created in various colors for different moods and occasions.
Materials Needed:
- Clean mason jar
- Battery-operated LED string lights
- Frosted glass spray or tissue paper
- Decorative elements (optional)
- Drill with small bit (if creating a hole for wires)
Recommended Products:
- Fairy String Lights with Timer
- Submersible LED Lights
- Color-Changing LED Lights
Step-by-Step Instructions:
- Clean and dry your mason jar thoroughly.
- If using frosted glass spray, apply to the outside of the jar and allow to dry completely.
- For tissue paper frosting: Cut tissue paper into small squares, apply a mixture of water and white glue to the outside of the jar, and adhere the tissue paper pieces, overlapping slightly. Allow to dry.
- Place LED string lights inside the jar, arranging them evenly.
- For battery packs that don’t fit inside the jar, you can either:
- Drill a small hole in the lid for the wire to pass through
- Use submersible LED lights that fit entirely inside the jar
- Secure the lid and turn on the lights.
Design Tip: Add decorative elements like sea glass, colored sand, or small decorative stones inside the jar with the lights for additional visual interest.
6. Combination Techniques for Unique Effects
Combine different methods to create truly unique and spectacular glowing effects that stand out from standard designs.
Combination Ideas:
Galaxy Jar
- Paint the inside with blue glow paint
- Add glow-in-the-dark star stickers to the outside
- Insert LED string lights
Fairy Garden Jar
- Apply glow powder mixed with Mod Podge in a speckled pattern
- Add small artificial plants or moss
- Insert warm white LED lights
Step-by-Step Instructions:
- Plan your design by selecting which techniques you want to combine.
- Always start with the innermost layer (usually paint or Mod Podge mixtures).
- Allow each layer or technique to dry/set completely before adding the next.
- Add decorative elements to the outside of the jar last.
- If using multiple light sources (like glow paint and LEDs), test in darkness to ensure the effects complement each other.
Creative Challenge: Try creating themed jars for different seasons or holidays by combining techniques and adding appropriate decorative elements.
Creative Ways to Use Your Glow-in-the-Dark Mason Jar Lanterns
Home Decor
- Nightlights for children’s rooms
- Bathroom ambient lighting
- Bookshelf or mantel accents
- Stairway illumination
Outdoor Settings
- Patio table centerpieces
- Garden path markers
- Hanging tree decorations
- Camping trip lighting
Special Events
- Wedding reception lighting
- Birthday party decorations
- Halloween displays
- Holiday table settings
These lanterns aren’t just decorative items,they’re conversation starters that create magical moments and memories. The soft glow creates an atmosphere that simply can’t be replicated with standard lighting.
Expert Tips for Perfect Glow-in-the-Dark Mason Jar Lanterns
Maximizing Glow Duration
- For paint and powder methods, apply multiple thin layers rather than one thick layer
- Charge glow-in-the-dark materials under UV light for the strongest effect
- Store solar-powered jars where they’ll receive direct sunlight during the day
- Use high-quality glow materials from reputable brands for longer-lasting effects
Troubleshooting Common Issues
- Paint not sticking: Ensure jar is completely clean and free of oils
- Weak glow: Add more layers or recharge under stronger light
- Uneven coverage: Rotate jar slowly while paint is still wet
- LED lights tangling: Wind around a pencil before inserting into jar
How long will my glow-in-the-dark jar lantern stay illuminated?
The duration varies by method: Glow paint and powder typically last 2-8 hours after charging. Glow sticks last 4-24 hours depending on quality and size. LED and solar options can last indefinitely as long as batteries are charged or replaced.
Are these projects safe for children to make?
Most methods are kid-friendly with adult supervision, except for the glow stick method which should be handled only by adults due to the chemicals and glass inside. LED, paint, and solar methods are generally safe for children 8+ with supervision.
Can I use plastic jars instead of glass?
Yes, plastic jars work well for most methods and are safer for outdoor use or in households with young children. However, avoid using frosted glass spray on plastic as it may not adhere properly. Use plastic-compatible paints for best results.
Safety Considerations When Making Glow-in-the-Dark Crafts
Always prioritize safety when creating these projects, especially when working with chemicals or tools.
General Safety Guidelines
- Work in a well-ventilated area when using paints, sprays, or opening glow sticks
- Wear protective gloves when handling chemicals or glow stick contents
- Keep all materials away from eyes, mouth, and food preparation areas
- Store unused materials properly according to manufacturer instructions
- Supervise children closely during all projects
Age-Appropriate Alternatives
- For young children (under 8): Use LED lights only, with adult handling battery installation
- For older children (8-12): Paint and powder methods with supervision
- For teens: All methods except glow sticks, with appropriate supervision
- Adults only: Glow stick method due to chemicals and glass
Light Up Your World with DIY Glow-in-the-Dark Mason Jar Lanterns
Creating your own glow-in-the-dark mason jar lanterns is a rewarding craft that combines creativity with functionality. Whether you’re looking to add enchanting lighting to your home, create memorable decorations for a special event, or simply enjoy a fun craft project, these six methods offer something for everyone.
Remember that the magic of these lanterns comes not just from their glow, but from the personal touch you add to each one. Experiment with different designs, colors, and combinations to create truly unique pieces that reflect your style and imagination.